12. Applications
Creating and configuring token-based authentication for external applications is available in Ansible Tower 3.3.
12.1. Getting Started with Applications
Access the Applications page by clicking the Applications (![]() ) icon from the left navigation bar. The Applications page displays a search-able list of all available Applications currently managed by Tower and can be sorted by Name.
) icon from the left navigation bar. The Applications page displays a search-able list of all available Applications currently managed by Tower and can be sorted by Name.

If no other applications exist, only a gray box with a message to add applications displays.

12.2. Create a new application
Token-based authentication for users can be configured in the Applications window.
In the Ansible Tower User Interface, click the Applications (
 ) icon from the left navigation bar.
The Applications window opens.
Click the
 button located in the upper right corner of the Applications window.
The New Application window opens.

Enter the following details in Create New Application window:
Name (required): provide a name for the application you want to create
Description: optionally provide a short description for your application
Organization (required): provide an organization for which this application is associated
Authorization Grant Type (required): Select from one of the grant types to use in order for the user to acquire tokens for this application. Refer to grant types in the Applications section of the Ansible Tower Administration Guide.
Redirect URIS: Provide a list of allowed URIs, separated by spaces. This is required if you specified the grant type to be Authorization code or Implicit.
Client Type (required): Select the level of security of the client device
When done, click Save or Cancel to abandon your changes
12.2.1. Applications - Tokens
Selecting the Tokens view displays a list of the users that have tokens to access the application.

Tokens can only access resources that its associated user can access, and can be limited further by specifying the scope of the token.
12.2.1.1. Add Tokens
Tokens are added through the Users screen before they can be associated with an application. Specifying an application can be performed directly in the User’s token settings. You can create a token for your user in the Tokens configuration tab. To add a token:
Access the Users list view by clicking the Users (
 ) icon from the left navigation bar then click on your user to configure your OAuth 2 tokens.
Click the Tokens tab from your user’s profile.
When no tokens are present, the Tokens screen prompts you to add them:

Click the
 button, which opens the Create Token window.
Enter the following details in Create Token window:
Application: enter the name of the application with which you want to associate your token. Alternatively, you can search for it by clicking the
button. This opens a separate window that allows you to choose from the available options. Use the Search bar to filter by name if the list is extensive. Leave this field blank if you want to create a Personal Access Token (PAT) that is not linked to any application.
Description: optionally provide a short description for your token.
Scope (required): specify the level of access you want this token to have.
When done, click Save or Cancel to abandon your changes.
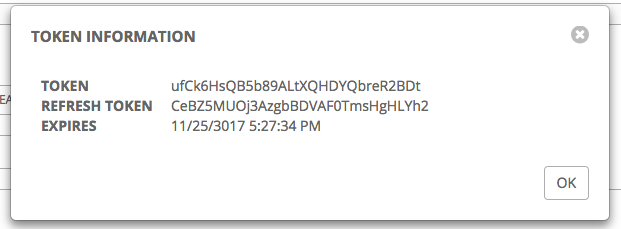
After the token is saved, the newly created token for the user displays with the token information and when it expires.

Note
This is the only time the token value and associated refresh token value will ever be shown.
In the user’s profile, the application for which it is assigned to and its expiration displays in the token list view.

To verify the application in the example above now shows the user with the appropriate token, go to the Tokens tab of the Applications window:

