17. Setting up Enterprise Authentication
This section describes setting up authentication for the following enterprise systems:
Note
For LDAP authentication, see Setting up LDAP Authentication.
SAML, RADIUS, and TACACS+ users are categorized as ‘Enterprise’ users. The following rules apply to Enterprise users:
Enterprise users can only be created via the first successful login attempt from remote authentication backend.
Enterprise users cannot be created/authenticated if non-enterprise users with the same name has already been created in Tower.
Tower passwords of enterprise users should always be empty and cannot be set by any user if there are enterprise backend-enabled.
If enterprise backends are disabled, an enterprise user can be converted to a normal Tower user by setting the password field. However, this operation is irreversible, as the converted Tower user can no longer be treated as enterprise user.
17.1. Azure Active Directory (AD)
To set up enterprise authentication for Microsoft Azure Active Directory (AD), you will need to obtain an OAuth2 key and secret by registering your organization-owned application from Azure at https://auth0.com/docs/connections/enterprise/azure-active-directory. Each key and secret must belong to a unique application and cannot be shared or reused between different authentication backends. In order to register the application, you must supply it with your webpage URL, which is the Callback URL shown in the Configure Tower user interface.
In the Ansible Tower User Interface, click the Settings (
 ) icon from the left navigation bar.
The Configure Tower window opens, displaying the Authentication tab initially by default.
In the Sub Category field, select Azure AD from the drop-down list.

Use the Azure AD OAuth2 Callback URL to supply Azure AD when it prompts for your application’s Sign-on URL.

Once the application is registered, Azure displays the Application ID and Object ID.
Copy and paste Azure’s Application ID to the Azure AD OAuth2 Key field of the Configure Tower - Authentication screen.
Following Azure AD’s documentation, Connect your app to Microsoft Azure Active Directory: Create the Key, supply the key (shown at one time only) to the client for authentication.
Copy and paste the actual secret key created for your Azure AD application to the Azure AD OAuth2 Secret field of the Configure Tower - Authentication screen.
For details on completing the mapping fields, see Organization and Team Mapping.
Click Save when done.
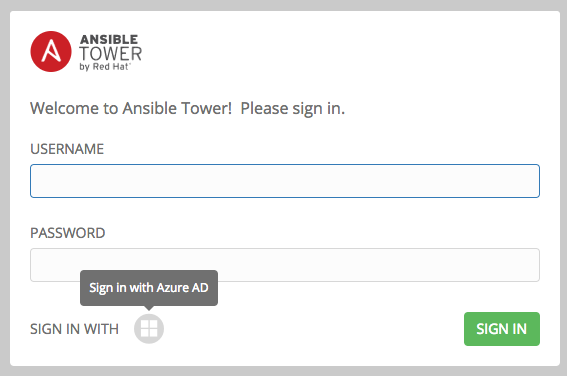
To verify that the authentication was configured correctly, logout of Ansible Tower and the login screen will now display the Microsoft Azure logo to allow logging in with those credentials.
For application registering basics in Azure AD, refer to: https://docs.microsoft.com/en-us/azure/active-directory/develop/active-directory-authentication-scenarios#basics-of-registering-an-application-in-azure-ad
17.2. SAML Authentication Settings
Note
SAML authentication is a feature specific to Enterprise-level license holders.
SAML allows the exchange of authentication and authorization data between an Identity Provider (IdP - a system of servers that provide the Single Sign On service) and a Service Provider (in this case, Ansible Tower). Ansible Tower can be configured to talk with SAML in order to authenticate (create/login/logout) Tower users. User Team and Organization membership can be embedded in the SAML response to Tower.
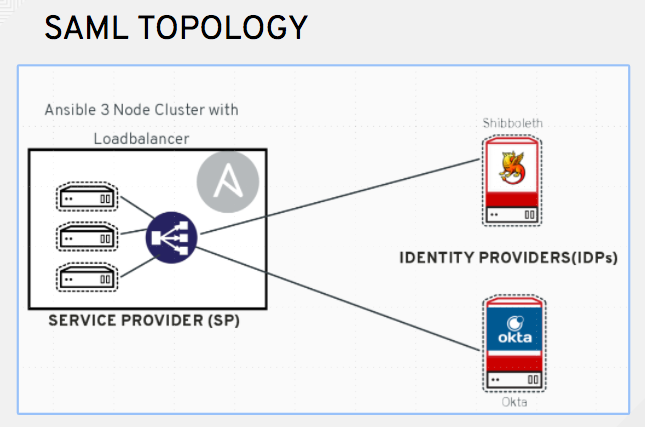
The following instructions describe Ansible Tower as the service provider. To authenticate users through RHSSO (keycloak), refer to the Red Hat Single Sign On Integration with Ansible Tower blog.
To setup SAML authentication:
In the Ansible Tower User Interface, click the Settings (
 ) icon from the left navigation bar.
The Configure Tower window opens, displaying the Authentication tab initially by default.
In the Sub Category field, select SAML from the drop-down list.
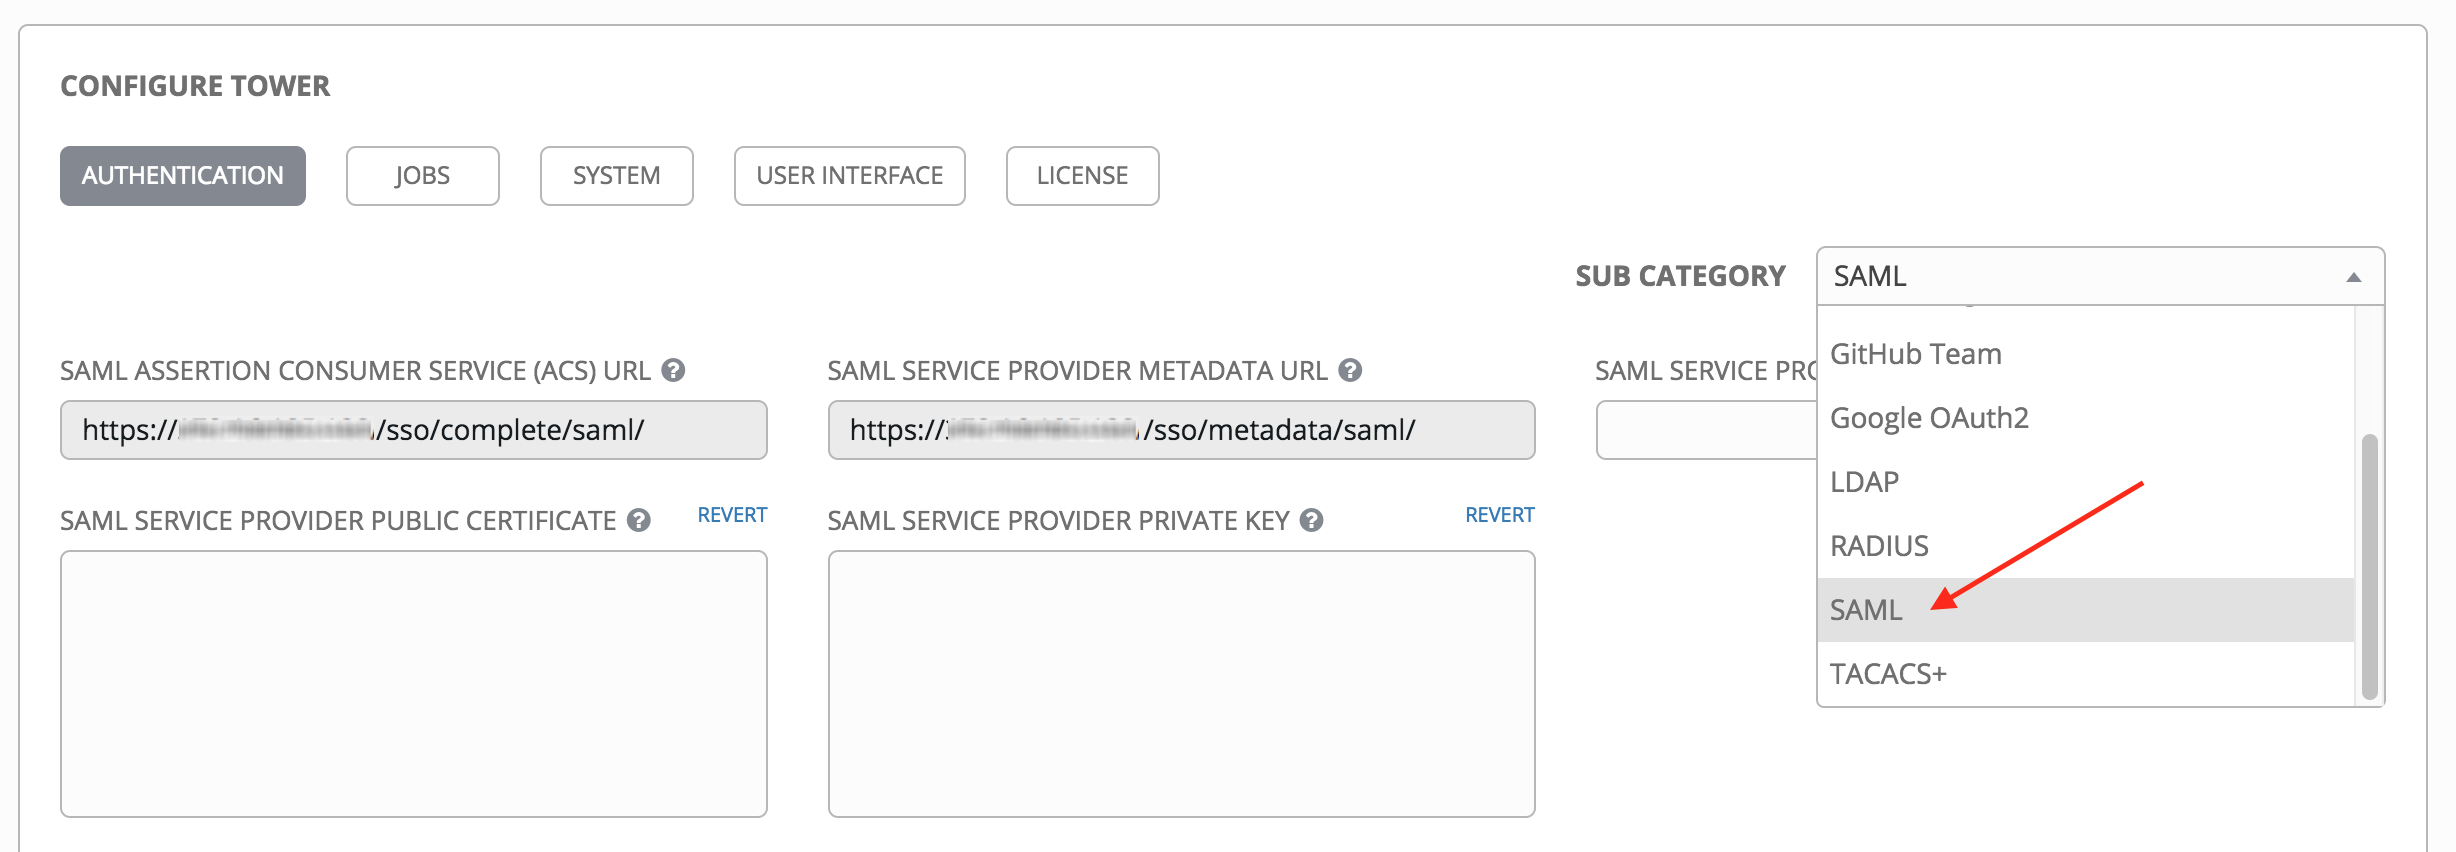
The SAML Assertion Consume Service (ACS) URL and SAML Service Provider Metadata URL fields are pre-populated and are non-editable. Contact the Identity Provider administrator and provide the information contained in these fields.
Set the SAML Service Provider Entity ID to be the same as the Tower Base URL. The Tower Base URL can be found in the System tab of the Configure Tower screen, which you can access through the Settings
 icon. Through the API, it can be viewed in the
 /api/v2/settings/system, under theTOWER_BASE_URLvariable. The Entity ID can be set to any one of the individual Tower Cluster Nodes, but it is good practice to set it to the URL of the Service Provider. Ensure that the Base URL matches the FQDN of the load balancer (if used).
Note
The Tower Base URL is different for each node in a cluster. Commonly, a load balancer will sit in front of many tower cluster nodes to provide a single entry point, Tower Cluster FQDN. The SAML Service Provider must be able establish an outbound connection and route to the Tower Cluster Node or Tower Cluster FQDN set in the SAML Service Provider Entity ID.
In this example, the Service Provider is the Tower Cluster, and therefore, the ID is set to the Tower Cluster FQDN.

Create a server certificate for the Ansible cluster. Typically when an Ansible cluster is configured, the Tower nodes will be configured to handle HTTP traffic only and the load balancer will be an SSL Termination Point. In this case, an SSL certificate is required for the load balancer, and not for the individual Tower Cluster Nodes. SSL can either be enabled or disabled per individual Tower node, but should be disabled when using an SSL terminated load balancer. It is recommended to use a non-expiring self signed certificate to avoid periodically updating certificates. This way, authentication will not fail in case someone forgets to update the certificate.
Note
The SAML Service Provider Public Certificate field should contain the entire certificate, including the “—–BEGIN CERTIFICATE—–” and “—–END CERTIFICATE—–”.
If you are using a CA bundle with your certificate, include the entire bundle in this field.

As an example for public certs:
-----BEGIN CERTIFICATE——
... cert text ...
-----END CERTIFICATE——
Create an optional private key for Tower to use as a service provider (SP) and enter it in the SAML Service Provider Private Key field.
As an example for private keys:
-----BEGIN PRIVATE KEY--
... key text ...
-----END PRIVATE KEY——
Optionally provide the IdP with some details about the Tower cluster during the SSO process in the SAML Service Provider Organization Info field.
{
  "en-US": {
    "url": "http://www.example.com",
    "displayname": "Example",
    "name": "example"
  }
}
For example:

Provide the IdP with the technical contact information in the SAML Service Provider Technical Contact field. Do not remove the contents of this field.
{
"givenName": "Some User",
"emailAddress": "[email protected]"
}
For example:
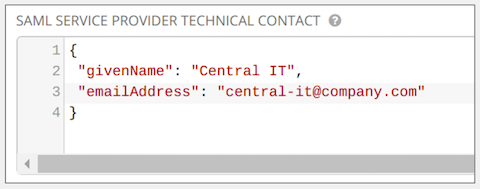
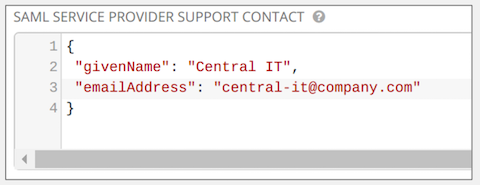
Provide the IdP with the support contact information in the SAML Service Provider Support Contact field. Do not remove the contents of this field.
{
"givenName": "Some User",
"emailAddress": "[email protected]"
}
For example:
In the SAML Enabled Identity Providers field, provide information on how to connect to each Identity Provider listed. Tower expects the following SAML attributes in the example below:
Username(urn:oid:0.9.2342.19200300.100.1.1)
Email(urn:oid:0.9.2342.19200300.100.1.3)
FirstName(urn:oid:2.5.4.42)
LastName(urn:oid:2.5.4.4)
If these attributes are not known, map existing SAML attributes to lastname, firstname, email and username.
Configure the required keys for each IDp:
attr_user_permanent_id- the unique identifier for the user. It can be configured to match any of the attribute sent from the IdP. Usually, it is set toname_idifSAML:nameidattribute is sent to the Tower node or it can be the username attribute, or a custom unique identifier.
entity_id- the Entity ID provided by the Identity Provider administrator. The admin creates a SAML profile for Tower and it generates a unique URL.
url- the Single Sign On (SSO) URL Tower redirects the user to, when SSO is activated.
x509_cert- the certificate provided by the IdP admin generated from the SAML profile created on the Identity Provider. Remove the--BEGIN CERTIFICATE--and--END CERTIFICATE--headers, then enter the cert as one non-breaking string.Multiple SAML IdPs are supported. Some IdPs may provide user data using attribute names that differ from the default OIDs (https://github.com/omab/python-social-auth/blob/master/social/backends/saml.py). The SAML
NameIDis a special attribute used by some Identity Providers to tell the Service Provider (Tower cluster) what the unique user identifier is. If it is used, set theattr_user_permanent_idtoname_idas shown in the example. Other attribute names may be overridden for each IdP as shown below.
{
"myidp": {
  "entity_id": "https://idp.example.com",
  "url": "https://myidp.example.com/sso",
  "x509cert": ""
},
"onelogin": {
  "entity_id": "https://app.onelogin.com/saml/metadata/123456",
  "url": "https://example.onelogin.com/trust/saml2/http-post/sso/123456",
  "x509cert": "",
  "attr_user_permanent_id": "name_id",
  "attr_first_name": "User.FirstName",
  "attr_last_name": "User.LastName",
  "attr_username": "User.email",
  "attr_email": "User.email"
  }
}

Note
The IdP provides the email, last name and firstname using the well known SAML urn. The IdP uses a custom SAML attribute to identify a user, which is an attribute that Tower is unable to read. Instead, Tower can understand the unique identifier name, which is the URN. Use the URN listed in the SAML “Name” attribute for the user attributes as shown in the example below.

Optionally provide in the SAML Organization Map. For further detail, see Organization and Team Mapping.
Tower can be configured to look for particular attributes that contain Team and Organization membership to associate with users when they log into Tower. The attribute names are defined in the SAML Organization Attribute Mapping and the SAML Team Map fields.
Example SAML Organization Attribute Mapping Below is an example SAML attribute that embeds user organization membership in the attribute member-of.
<saml2:AttributeStatement>
    <saml2:Attribute FriendlyName="member-of" Name="member-of"
NameFormat="urn:oasis:names:tc:SAML:2.0:attrname-format:unspecified">
        <saml2:AttributeValue>Engineering</saml2:AttributeValue>
        <saml2:AttributeValue>IT</saml2:AttributeValue>
        <saml2:AttributeValue>HR</saml2:AttributeValue>
        <saml2:AttributeValue>Sales</saml2:AttributeValue>
    </saml2:Attribute>
    <saml2:Attribute FriendlyName="admin-of" Name="admin-of"
NameFormat="urn:oasis:names:tc:SAML:2.0:attrname-format:unspecified">
        <saml2:AttributeValue>Engineering</saml2:AttributeValue>
    </saml2:Attribute>
</saml2:AttributeStatement>
Below is the corresponding Tower configuration.
{
  "saml_attr": "member-of",
  "saml_admin_attr": "admin-of",
  "remove": true,
  "remove_admins": false
}
saml_attr: is the SAML attribute name where the organization array can be found and remove is set to True to remove a user from all organizations before adding the user to the list of Organizations. To keep the user in whatever Organization(s) they are in while adding the user to the Organization(s) in the SAML attribute, set remove to False.
saml_admin_attr: Similar to the saml_attr attribute, but instead of conveying organization membership, this attribute conveys admin organization permissions.
Example SAML Team Map Below is another example of a SAML attribute that contains a Team membership in a list.
<saml:AttributeStatement>
     <saml:Attribute
        xmlns:x500="urn:oasis:names:tc:SAML:2.0:profiles:attribute:X500"
        x500:Encoding="LDAP"
        NameFormat="urn:oasis:names:tc:SAML:2.0:attrname-format:uri"
        Name="urn:oid:1.3.6.1.4.1.5923.1.1.1.1"
        FriendlyName="eduPersonAffiliation">
        <saml:AttributeValue
            xsi:type="xs:string">member</saml:AttributeValue>
        <saml:AttributeValue
            xsi:type="xs:string">staff</saml:AttributeValue>
        </saml:Attribute>
</saml:AttributeStatement>
{
    "saml_attr": "eduPersonAffiliation",
    "remove": true,
    "team_org_map": [
    {
        "team": "member",
        "organization": "Default1"
    },
    {
        "team": "staff",
        "organization": "Default2"
    }
  ]
}
saml_attr: The SAML attribute name where the team array can be found.remove: Setremoveto True to remove user from all Teams before adding the user to the list of Teams. To keep the user in whatever Team(s) they are in while adding the user to the Team(s) in the SAML attribute, setremoveto False.team_org_map: An array of dictionaries of the form{ "team": "<AWX Team Name>", "organization": "<AWX Org Name>" }that defines mapping from Tower Team -> Tower Organization. This is needed because the same named Team can exist in multiple Organizations in Tower. The organization to which a team listed in a SAML attribute belongs to, would be ambiguous without this mapping.
Optionally provide team membership mapping in the SAML Team Attribute Mapping field. For further detail, see Organization and Team Mapping.
Optionally provide security settings in the SAML Security Config field. This field is the equivalent to the
SOCIAL_AUTH_SAML_SECURITY_CONFIGfield in the API. Refer to the OneLogin’s SAML Python Toolkit for further detail.
Tower uses the python-social-auth library when users log in through SAML. This library relies on the python-saml library to make available the settings for the next two optional fields, SAML Service Provider Extra Configuration Data and SAML IDP to EXTRA_DATA Attribute Mapping.
The SAML Service Provider Extra Configuration Data field is equivalent to the
SOCIAL_AUTH_SAML_SP_EXTRAin the API. Refer to the python-saml library documentation to learn about the valid service provider extra (SP_EXTRA) parameters.
The SAML IDP to EXTRA_DATA Attribute Mapping field is equivalent to the
SOCIAL_AUTH_SAML_EXTRA_DATAin the API. See Python’s SAML Advanced Settings documentation for more information.
Click Save when done.
To verify that the authentication was configured correctly, load the auto-generated URL found in the SAML Service Provider Metadata URL into a browser. It should output XML output, otherwise, it is not configured correctly.
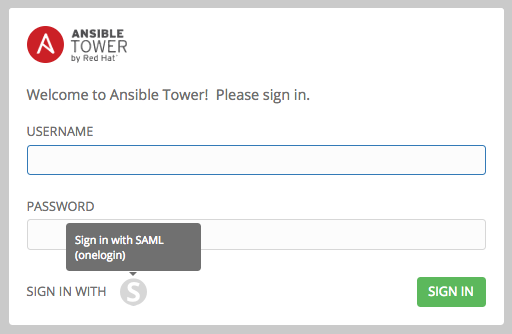
Alternatively, logout of Ansible Tower and the login screen will now display the SAML logo to indicate it as a alternate method of logging into Ansible Tower.
17.3. RADIUS Authentication Settings
Note
RADIUS account authentication is a feature specific to Enterprise-level license holders.
Ansible Tower can be configured to centrally use RADIUS as a source for authentication information.
In the Ansible Tower User Interface, click the Settings (
 ) icon from the left navigation bar.
The Configure Tower window opens, displaying the Authentication tab initially by default.
In the Sub Category field, select Radius from the drop-down list.

Enter the Host or IP of the Radius server in the Radius Server field. If this field is left blank, Radius authentication is disabled.
Enter the port and secret information in the next two fields.

Click Save when done.
17.4. TACACS+ Authentication Settings
Note
TACACS+ account authentication is a feature specific to Enterprise-level license holders.
Terminal Access Controller Access-Control System Plus (TACACS+) is a protocol that handles remote authentication and related services for networked access control through a centralized server. In particular, TACACS+ provides authentication, authorization and accounting (AAA) services, in which you can configure Ansible Tower to use as a source for authentication.
In the Ansible Tower User Interface, click Configure Tower from the Settings (
 ) Menu screen.
The Authentication tab displays initially by default.
In the Sub Category field, select TACACs+ from the drop-down list.

Enter information in the following fields:
TACACS+ Server: Provide the hostname or IP address of the TACACS+ server with which to authenticate. If this field is left blank, TACACS+ authentication is disabled.
TACACS+ Port: TACACS+ uses port 49 by default, which is already pre-populated.
TACACS+ Secret: Secret key for TACACS+ authentication server.
TACACS+ Auth Session Timeout: Session timeout value in seconds. The default is 5 seconds.
TACACS+ Authentication Protocol: The protocol used by TACACS+ client. Options are ascii or pap.

Click Save when done.
