8. Create a new Inventory
An inventory is a collection of hosts managed by the controller. Organizations are assigned to inventories, while permissions to launch playbooks against inventories are controlled at the user and/or team level. For more information, refer to Inventories, Users - Permissions, and Teams - Permissions in the Automation Controller User Guide.
To view existing inventories, click Inventories from the left navigation bar.

automation controller provides a demo inventory for you to use as you learn how the controller works. It can be used as is or edited later as needed. You may create another inventory if necessary. Refer to Add a new inventory in the Automation Controller User Guide for detail.
For the purpose of this Quick Start Guide, leave the default inventory as is.
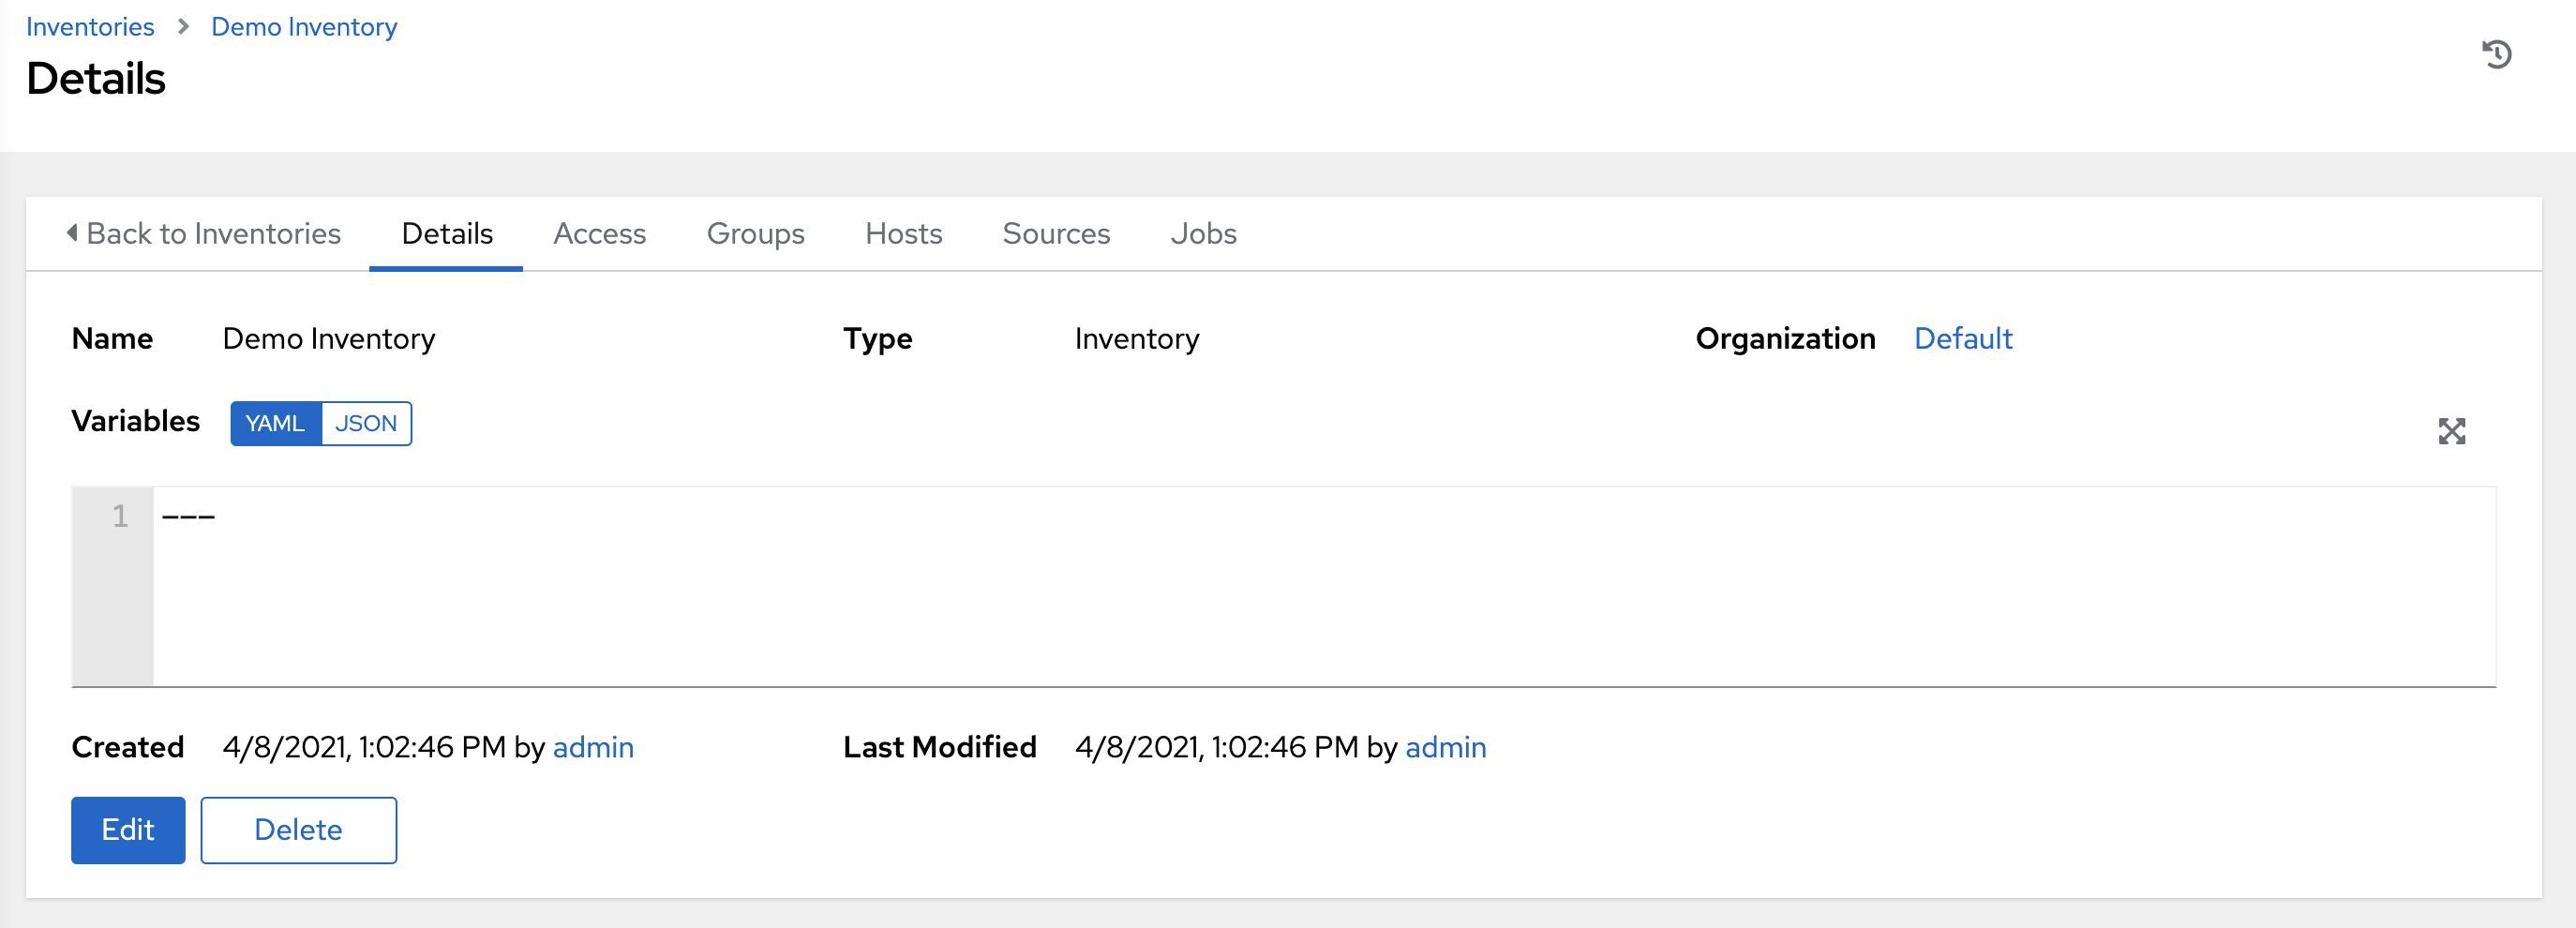
Click Demo Inventory to view its details.

As with organizations, inventories also have associated users and teams that you can view through the Access tab.

A default admin user with the role of System Administrator has been automatically populated for this demo inventory.
8.1. Groups and Hosts
Note that inventories are divided into groups and hosts. A group might represent a particular environment (e.g. 《Datacenter 1》 or 《Stage Testing》), a server type (e.g. 《Application Servers》 or 《DB Servers》), or any other representation of your environment. The groups and hosts that belong to the Demo inventory are shown in the Groups and Hosts tabs, respectively.
To add new groups, click the Add button in the Groups screen.
Similarly, in the Hosts tab, click the Add button to add hosts to groups.
For the purposes of this Quick Start and to test that the controller is setup properly, a local host has been added for your use.

Suppose that the organization you created earlier has a group of web server hosts supporting a particular application. To add these hosts to the inventory, create a group and add the web server hosts.
Click Cancel (if no changes were made) or use the breadcrumb navigational links at the top of the automation controller browser to return to the Inventories list view. Clicking Save does not exit the Details dialog.
