9. Users
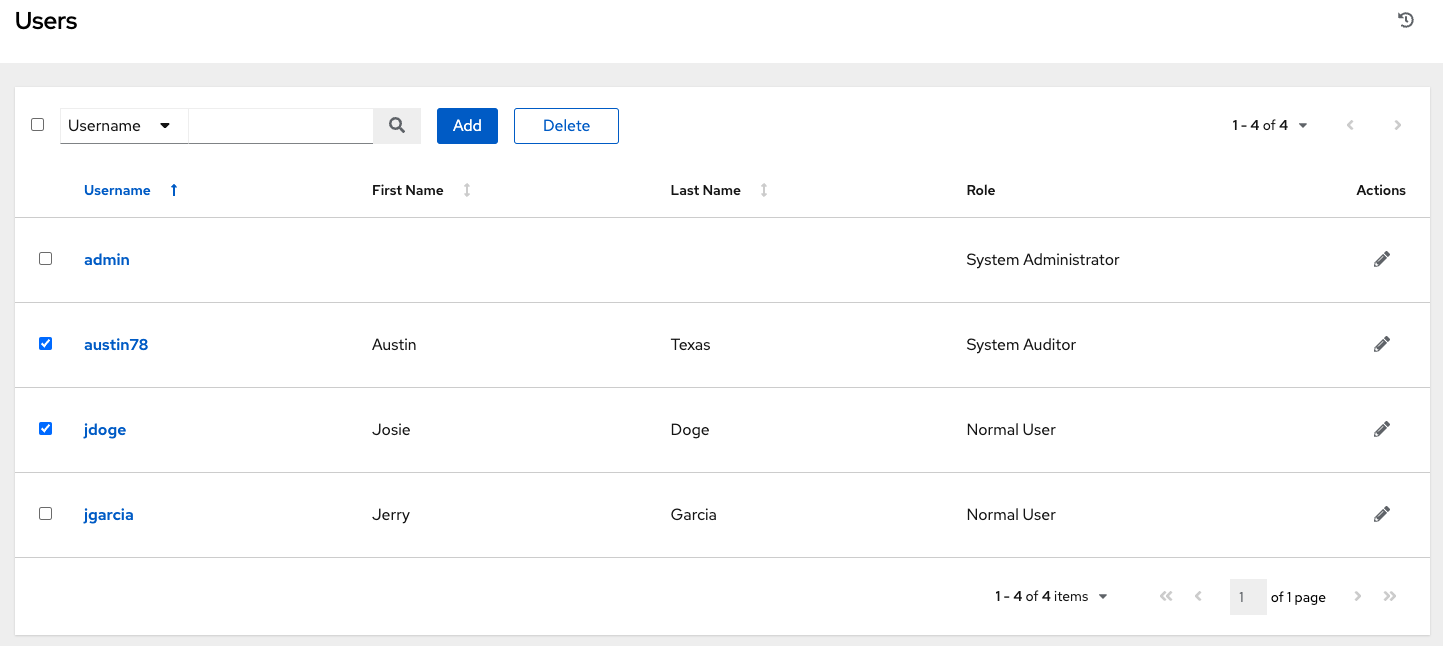
A User is someone who has access to automation controller with associated permissions and credentials. Access the Users page by clicking Users from the left navigation bar. The User list may be sorted and searched by Username, First Name, or Last Name and click the headers to toggle your sorting preference.
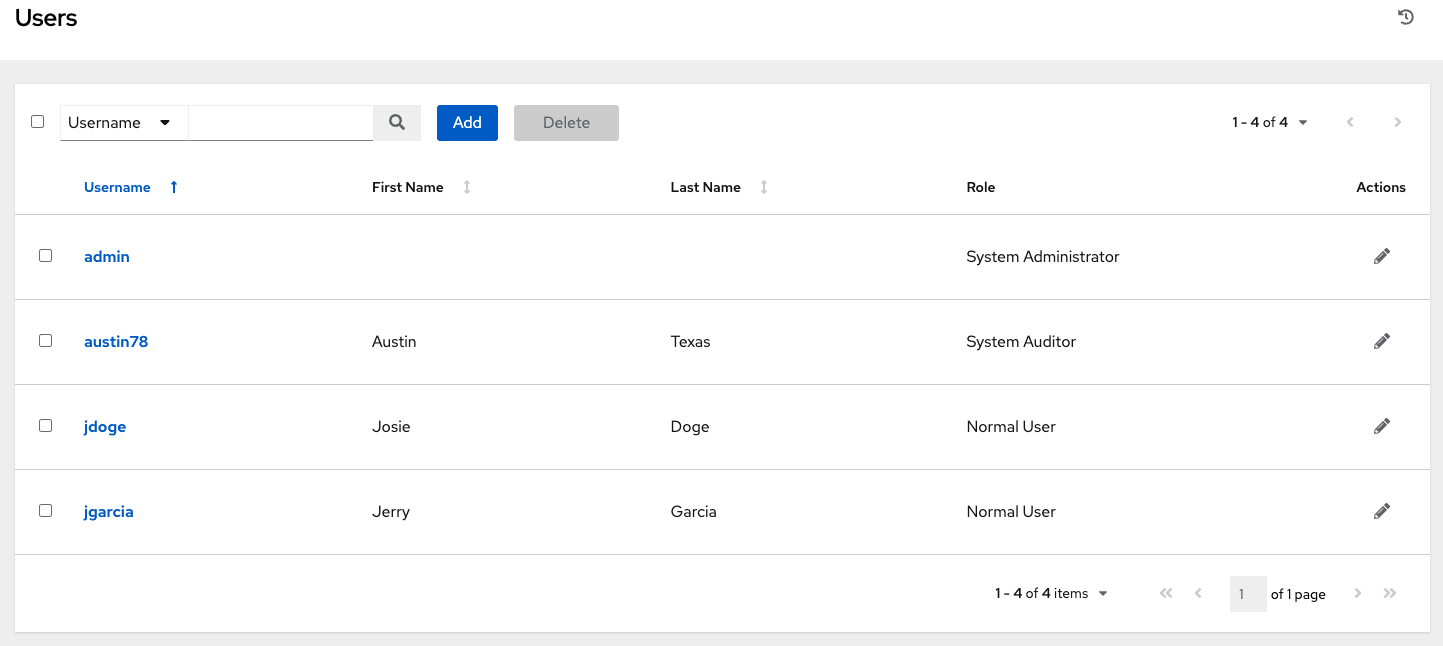
You can easily view permissions and user type information by looking beside their user name in the User overview screen.
9.1. Create a User
To create a new user:
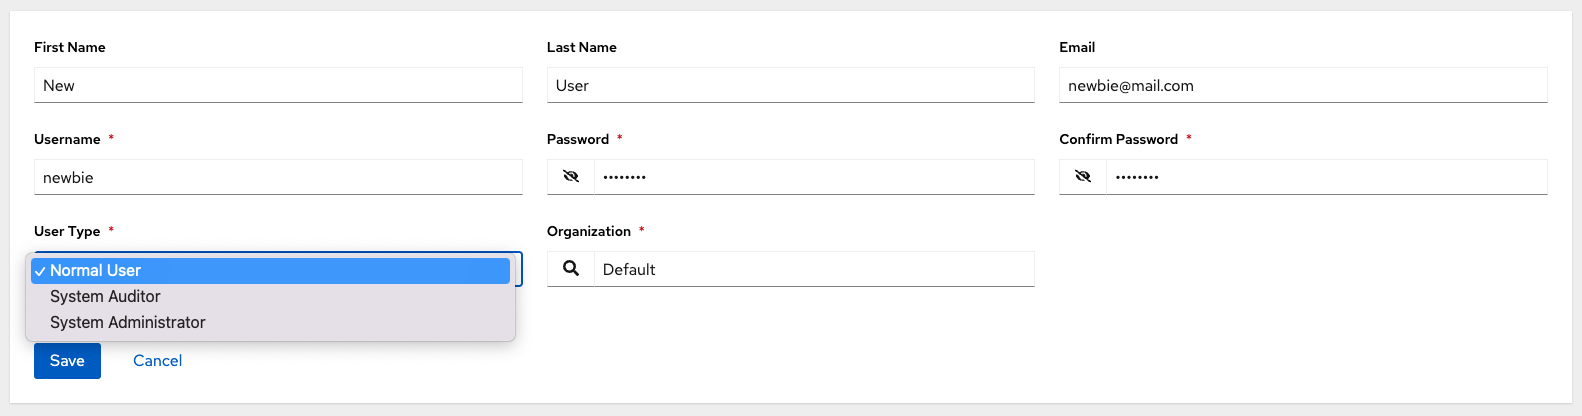
Click the Add button, which opens the Create User dialog.
Enter the appropriate details about your new user. Fields marked with an asterisk (*) are required.
Note
When modifying your own password, log out and log back in again in order for it to take effect.
Three types of Users can be assigned:
Normal User: Normal Users have read and write access limited to the resources (such as inventory, projects, and job templates) for which that user has been granted the appropriate roles and privileges.
System Auditor: Auditors implicitly inherit the read-only capability for all objects within the environment.
System Administrator: A System Administrator (also known as Superuser) has full system administration privileges – with full read and write privileges over the entire installation. A System Administrator is typically responsible for managing all aspects of automation controller and delegating responsibilities for day-to-day work to various Users. Assign with caution!
Note
The initial user (usually “admin”) created by the installation process is a Superuser. One Superuser must always exist. To delete the “admin” user account, you must first create another Superuser account.
Select Save when finished.
Once the user is successfully created, the User dialog opens for that newly created User.
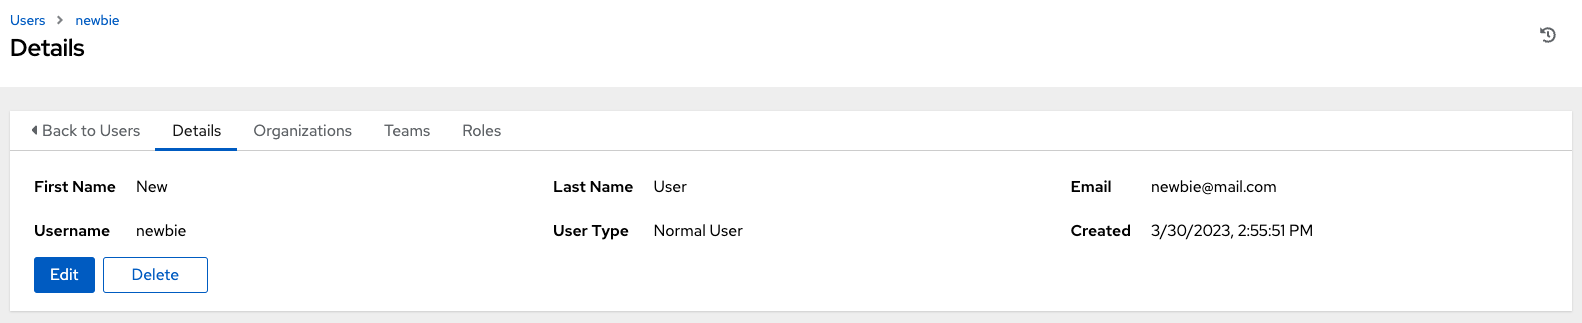
You may delete the user from its Details screen by clicking Delete, or once you exit the details screen, you can delete users from a list of current users. See Delete a User for more detail.
The same window opens whether you click on the user’s name, or the Edit ( ) button beside the user. Here, the User’s Organizations, Teams, and Roles, as well as other user membership details, may be reviewed and modified.
Note
If the user is not a newly-created user, the user’s details screen displays the last login activity of that user.

When you log in as yourself, and view the details of your own user profile, you can manage tokens from your user profile. See Users - Tokens for more detail.
9.2. Delete a User
Before you can delete a user, you must have user permissions. When you delete a user account, the name and email of the user are permanently removed from automation controller.
Expand the Access menu from the left navigation bar, and click Users to display a list of the current users.
Select the check box(es) for the user(s) that you want to remove and click Delete.
Click Delete in the confirmation warning message to permanently delete the user.
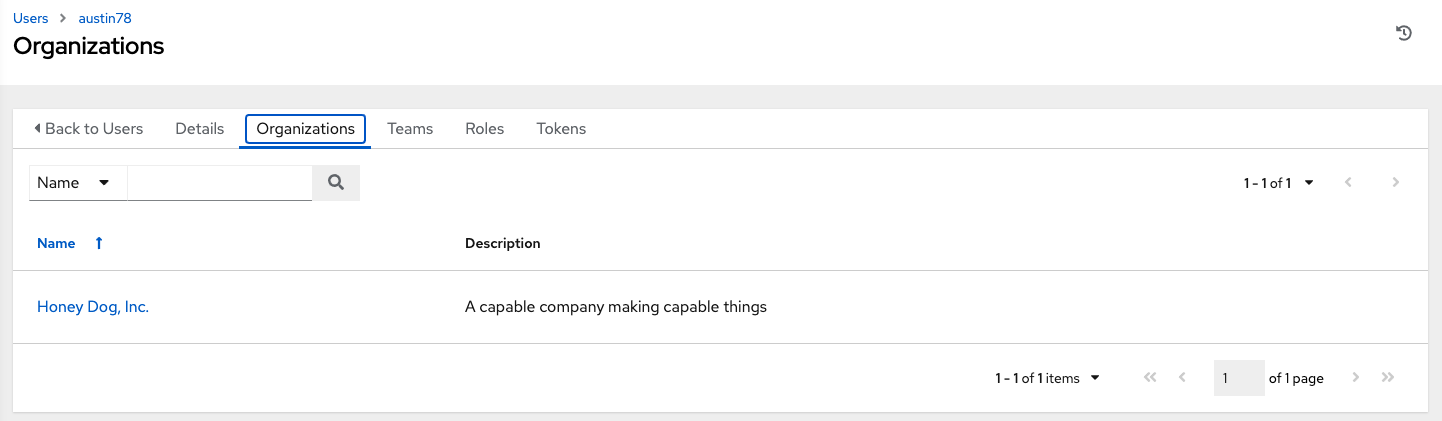
9.3. Users - Organizations
This displays the list of organizations of which that user is a member. This list may be searched by Organization Name or Description. Organization membership cannot be modified from this display panel.
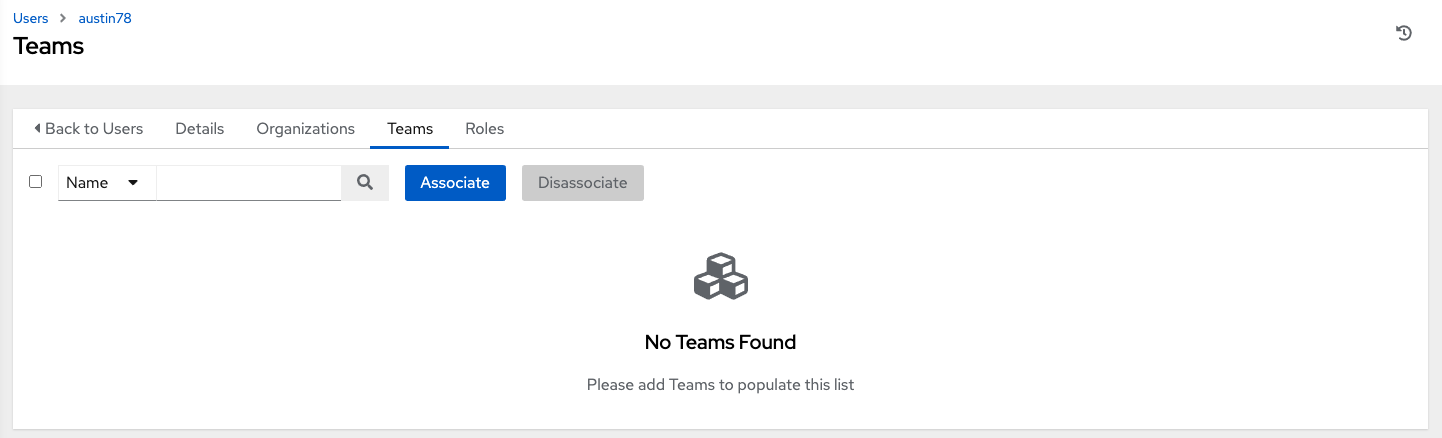
9.4. Users - Teams
This displays the list of teams of which that user is a member. This list may be searched by Team Name or Description. Team membership cannot be modified from this display panel. For more information, refer to Teams.
Until a Team has been created and the user has been assigned to that team, the assigned Teams Details for the User appears blank.
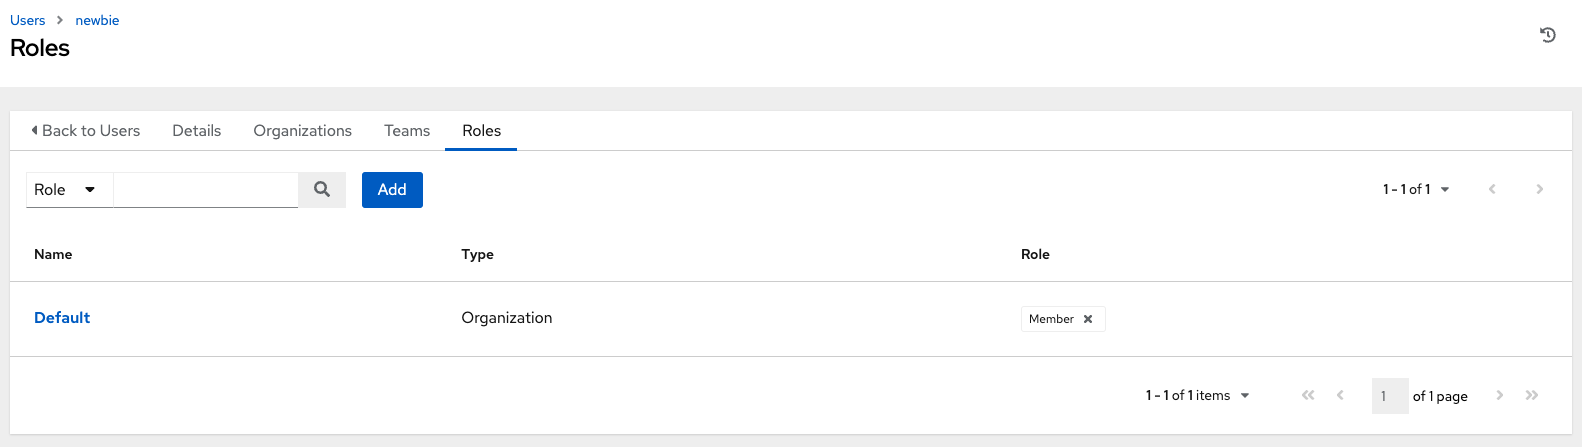
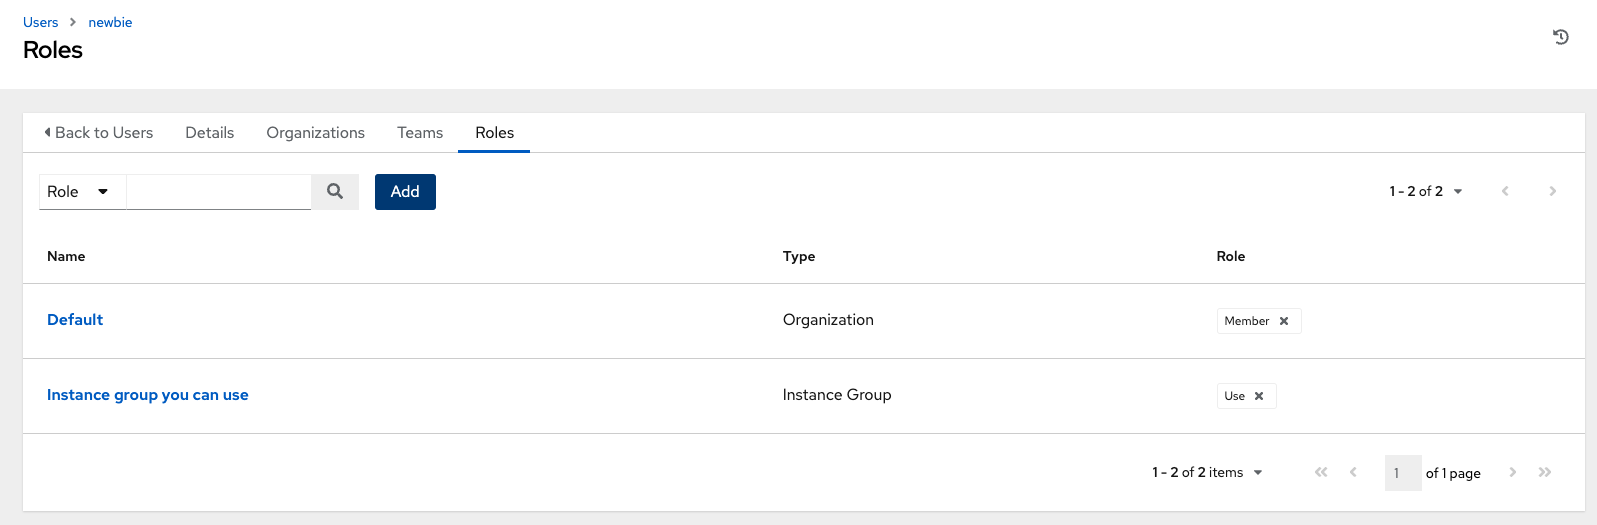
9.5. Users - Roles
The set of permissions assigned to this user (role-based access controls) that provide the ability to read, modify, and administer projects, inventories, job templates, and other automation controller elements are Roles.
Note
It is important to note that the job template administrator may not have access to other resources (inventory, project, credentials, or instance groups) associated with the template. Without access to these, certain fields in the job template are not editable. System Administrators may grant individual users permissions to certain resources as necessary. See Add Permissions for detail.
This screen displays a list of the roles that are currently assigned to the selected User and can be sorted and searched by Name, Type, or Role.
9.5.1. Add Permissions
To add permissions to a particular user:
Click the Add button, which opens the Add Permissions Wizard.
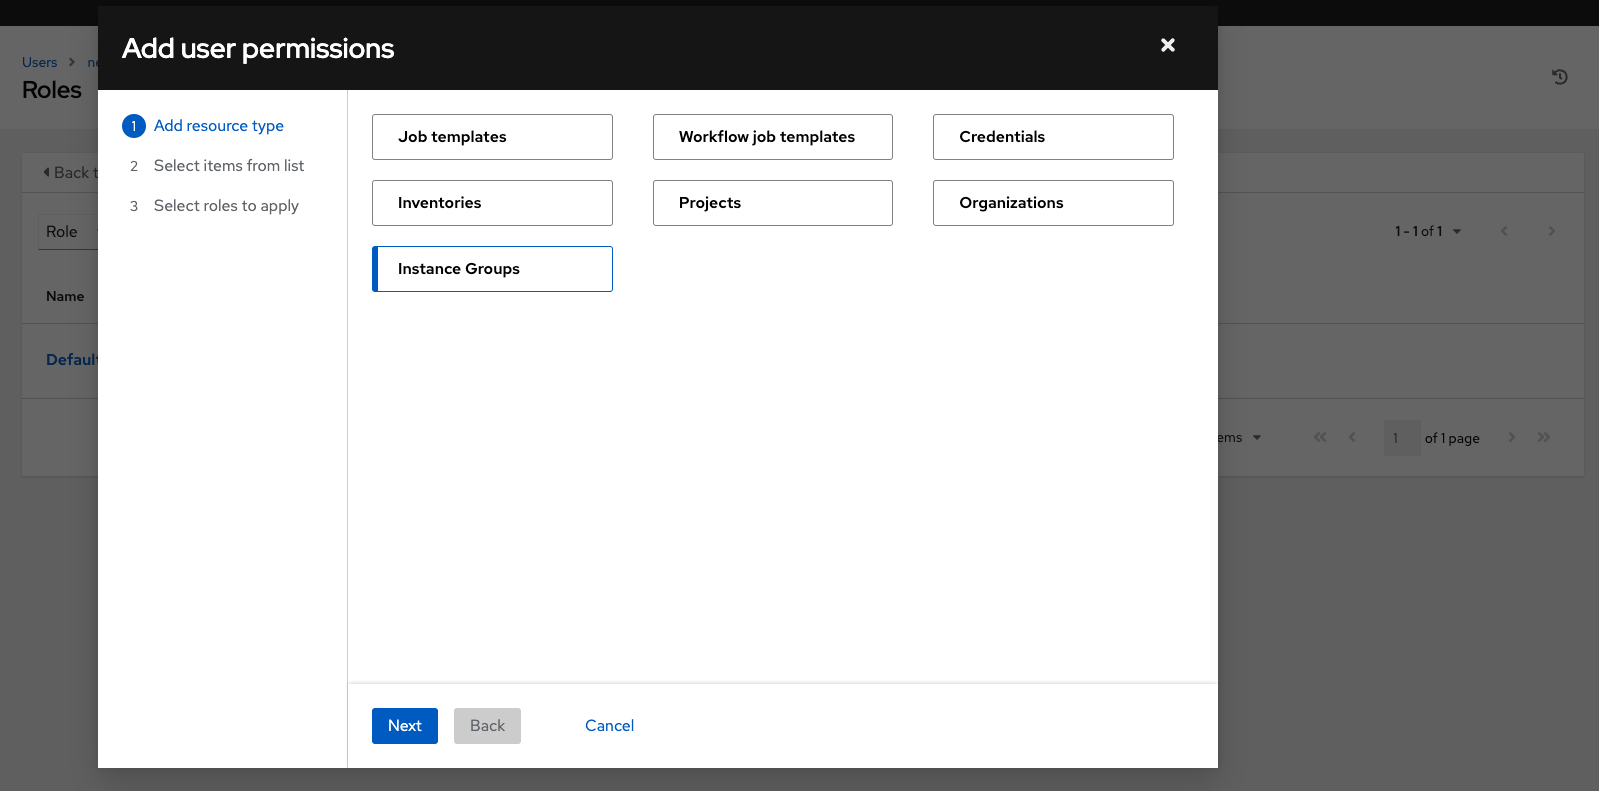
Click to select the object for which the user will have access and click Next.
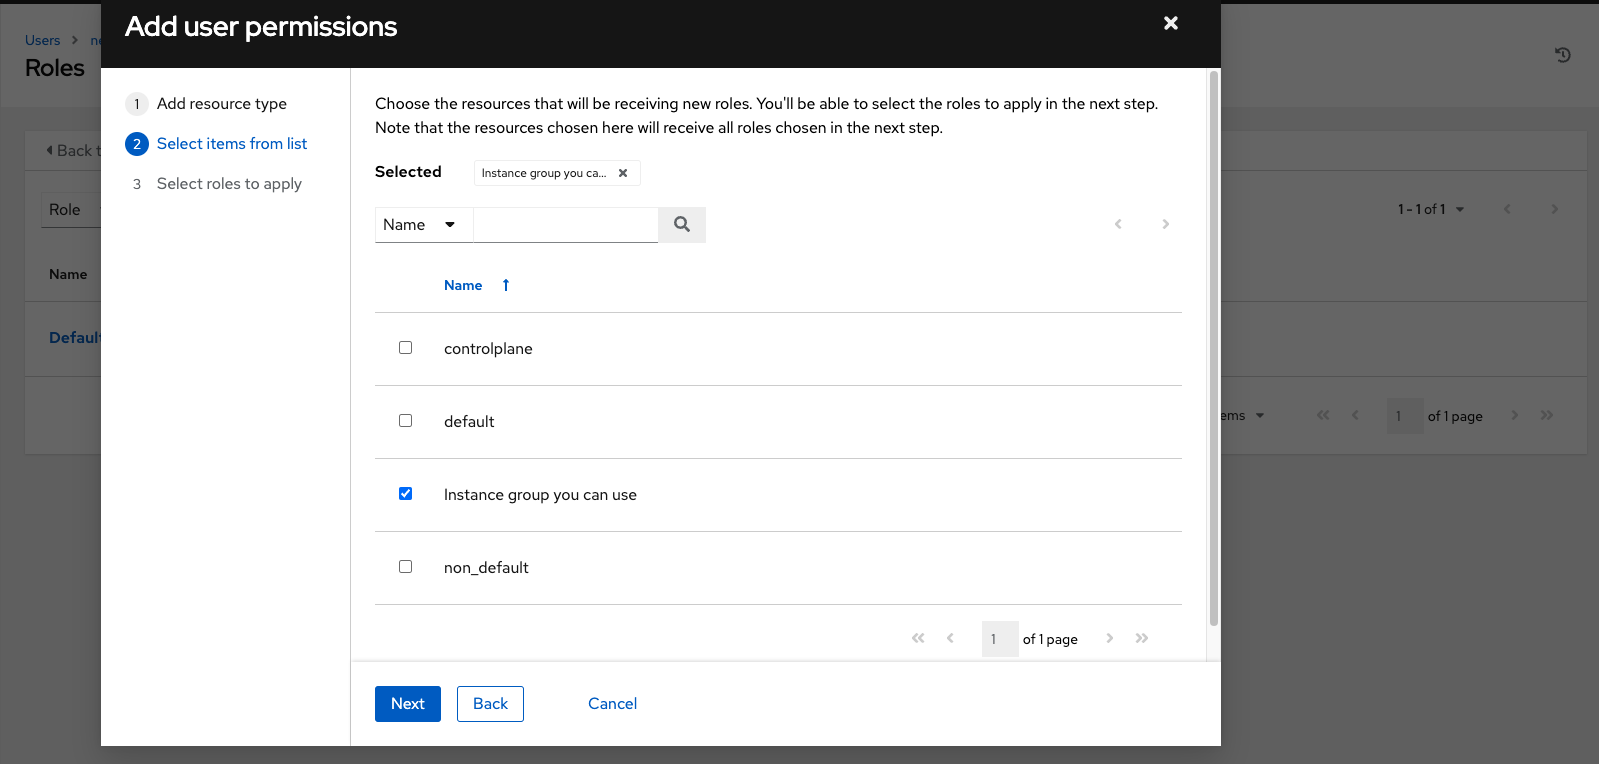
Click to select the resource to assign team roles and click Next.
Click the checkbox beside the role to assign that role to your chosen type of resource. Different resources have different options available.
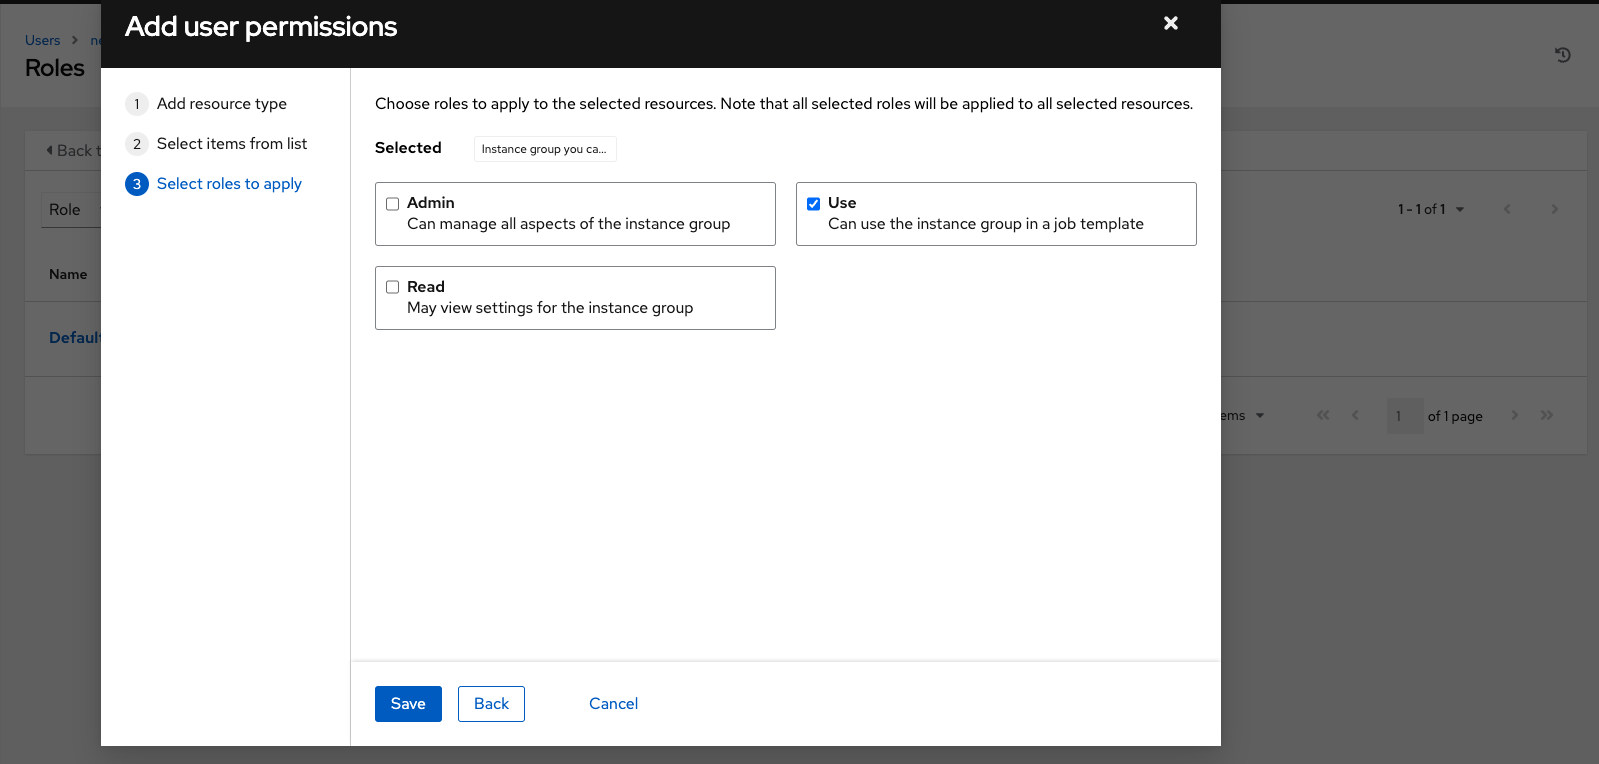
Click Save when done, and the Add Permissions Wizard closes to display the updated profile for the user with the roles assigned for each selected resource.
To remove Permissions for a particular resource, click the disassociate (x) button next to its resource. This launches a confirmation dialog, asking you to confirm the disassociation.
Note
You can also add teams, individual, or multiple users and assign them permissions at the object level (templates, credentials, inventories, projects, organizations, or instance groups) as well. This feature reduces the time for an organization to onboard many users at one time.
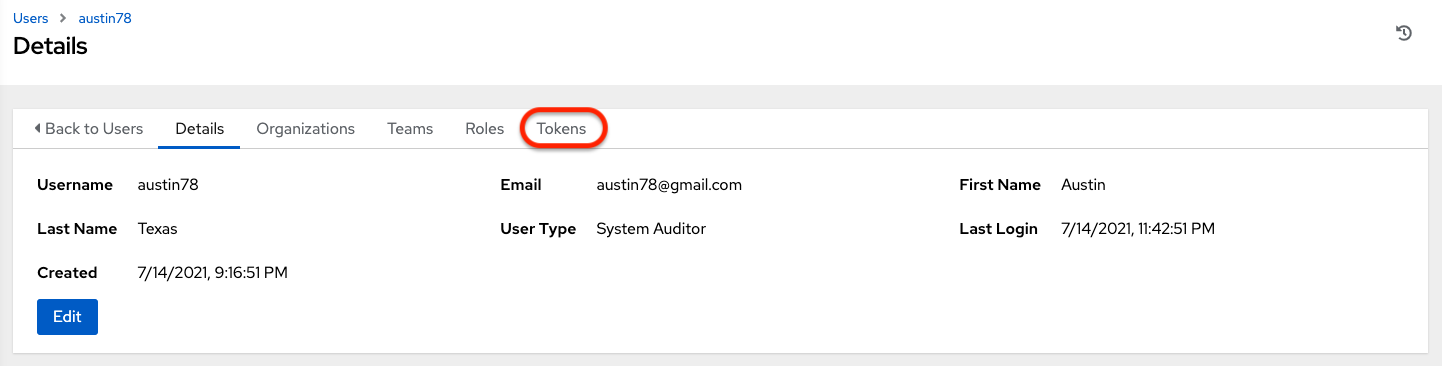
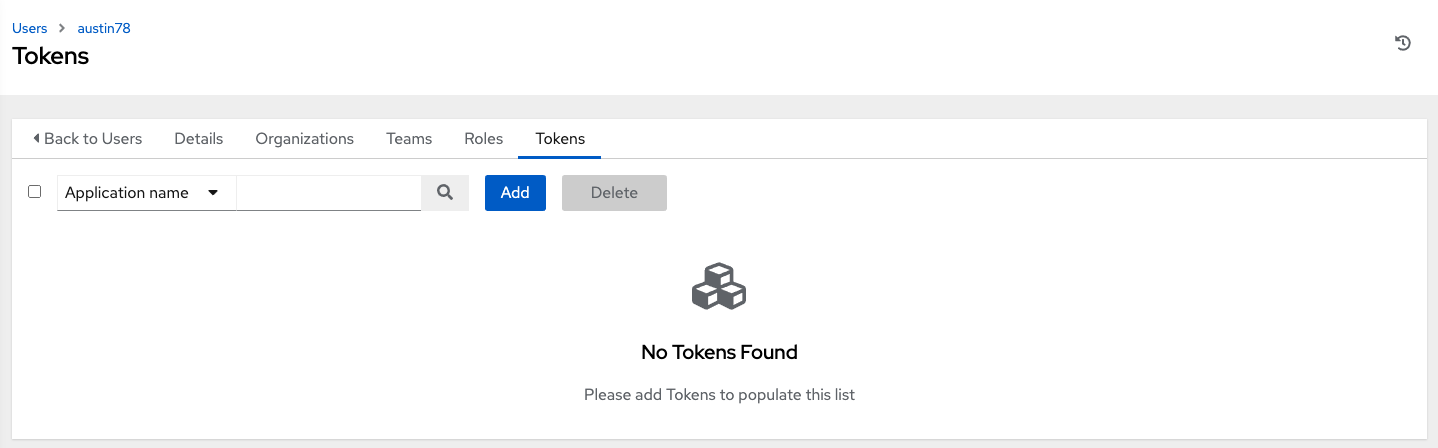
9.6. Users - Tokens
The Tokens tab will only be present for your user (yourself). Before you add a token for your user, you may want to create an application if you want to associate your token to it. You may also create a personal access token (PAT) without associating it with any application. To create a token for your user:
If not already selected, click on your user from the Users list view to configure your OAuth 2 tokens.
Click the Tokens tab from your user’s profile.
When no tokens are present, the Tokens screen prompts you to add them:
Click the Add button, which opens the Create Token window.
Enter the following details in Create Token window:
Application: enter the name of the application with which you want to associate your token. Alternatively, you can search for it by clicking the
button. This opens a separate window that allows you to choose from the available options. Use the Search bar to filter by name if the list is extensive. Leave this field blank if you want to create a Personal Access Token (PAT) that is not linked to any application.
Description: optionally provide a short description for your token.
Scope (required): specify the level of access you want this token to have.
When done, click Save or Cancel to abandon your changes.
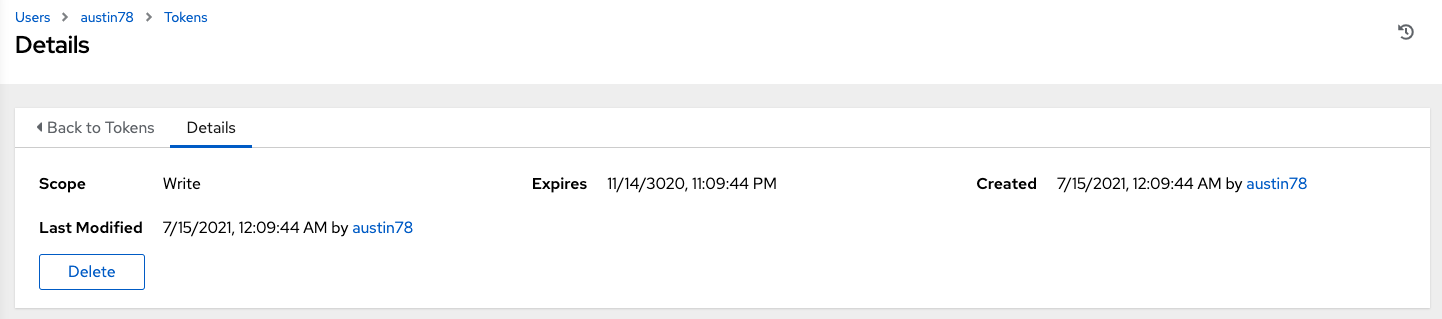
After the token is saved, the newly created token for the user displays with the token information and when it expires.
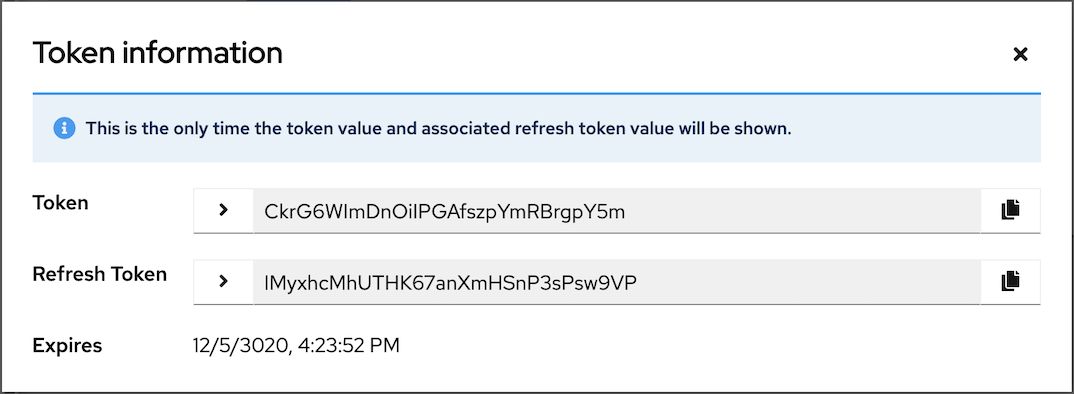
Note
This is the only time the token value and associated refresh token value will ever be shown.
In the user’s profile, the application for which it is assigned to and its expiration displays in the token list view.