5. Organizations
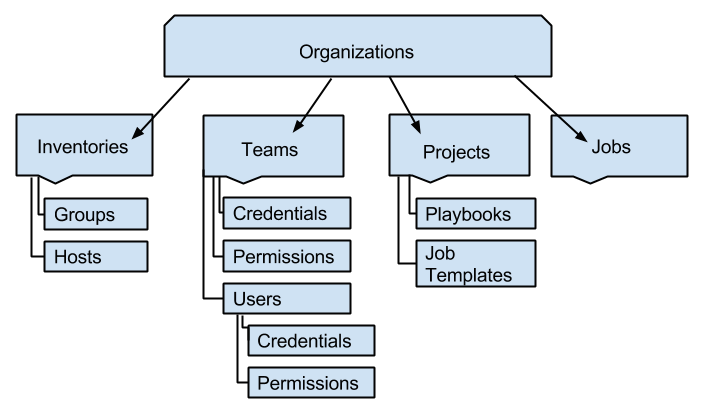
An organization is a logical collection of Users, Teams, Projects, and Inventories, and is the highest level in the Tower object hierarchy.
The Organizations link from the Setup ( ) menu displays all of the existing organizations for your installation of Tower. Organizations can be searched by Name or Description. Modify and remove organizations using the Edit and
Delete buttons.
Note
Starting with version 2.2.0, Tower creates a default organization automatically. Users of older versions of Tower will not see this default organization. Users of Tower with a Basic-level license only have the default organization available and should not delete it.

Buttons located in the upper right corner of the Organizations tab provide the following actions:
- Create a new organization
- View Activity Stream
Create a new organization by selecting the  button.
Note
If you are using Ansible Tower with a Basic license, you must use the default organization. Do not delete it and try to add a new organization, or you will break your Tower setup. Only Enterprise or Premium Tower licenses have the ability to add new organizations beyond the default.
- Enter the Name for your organization.
- Optionally, enter a Description for the organization.
Click Save to finish creating the organization.

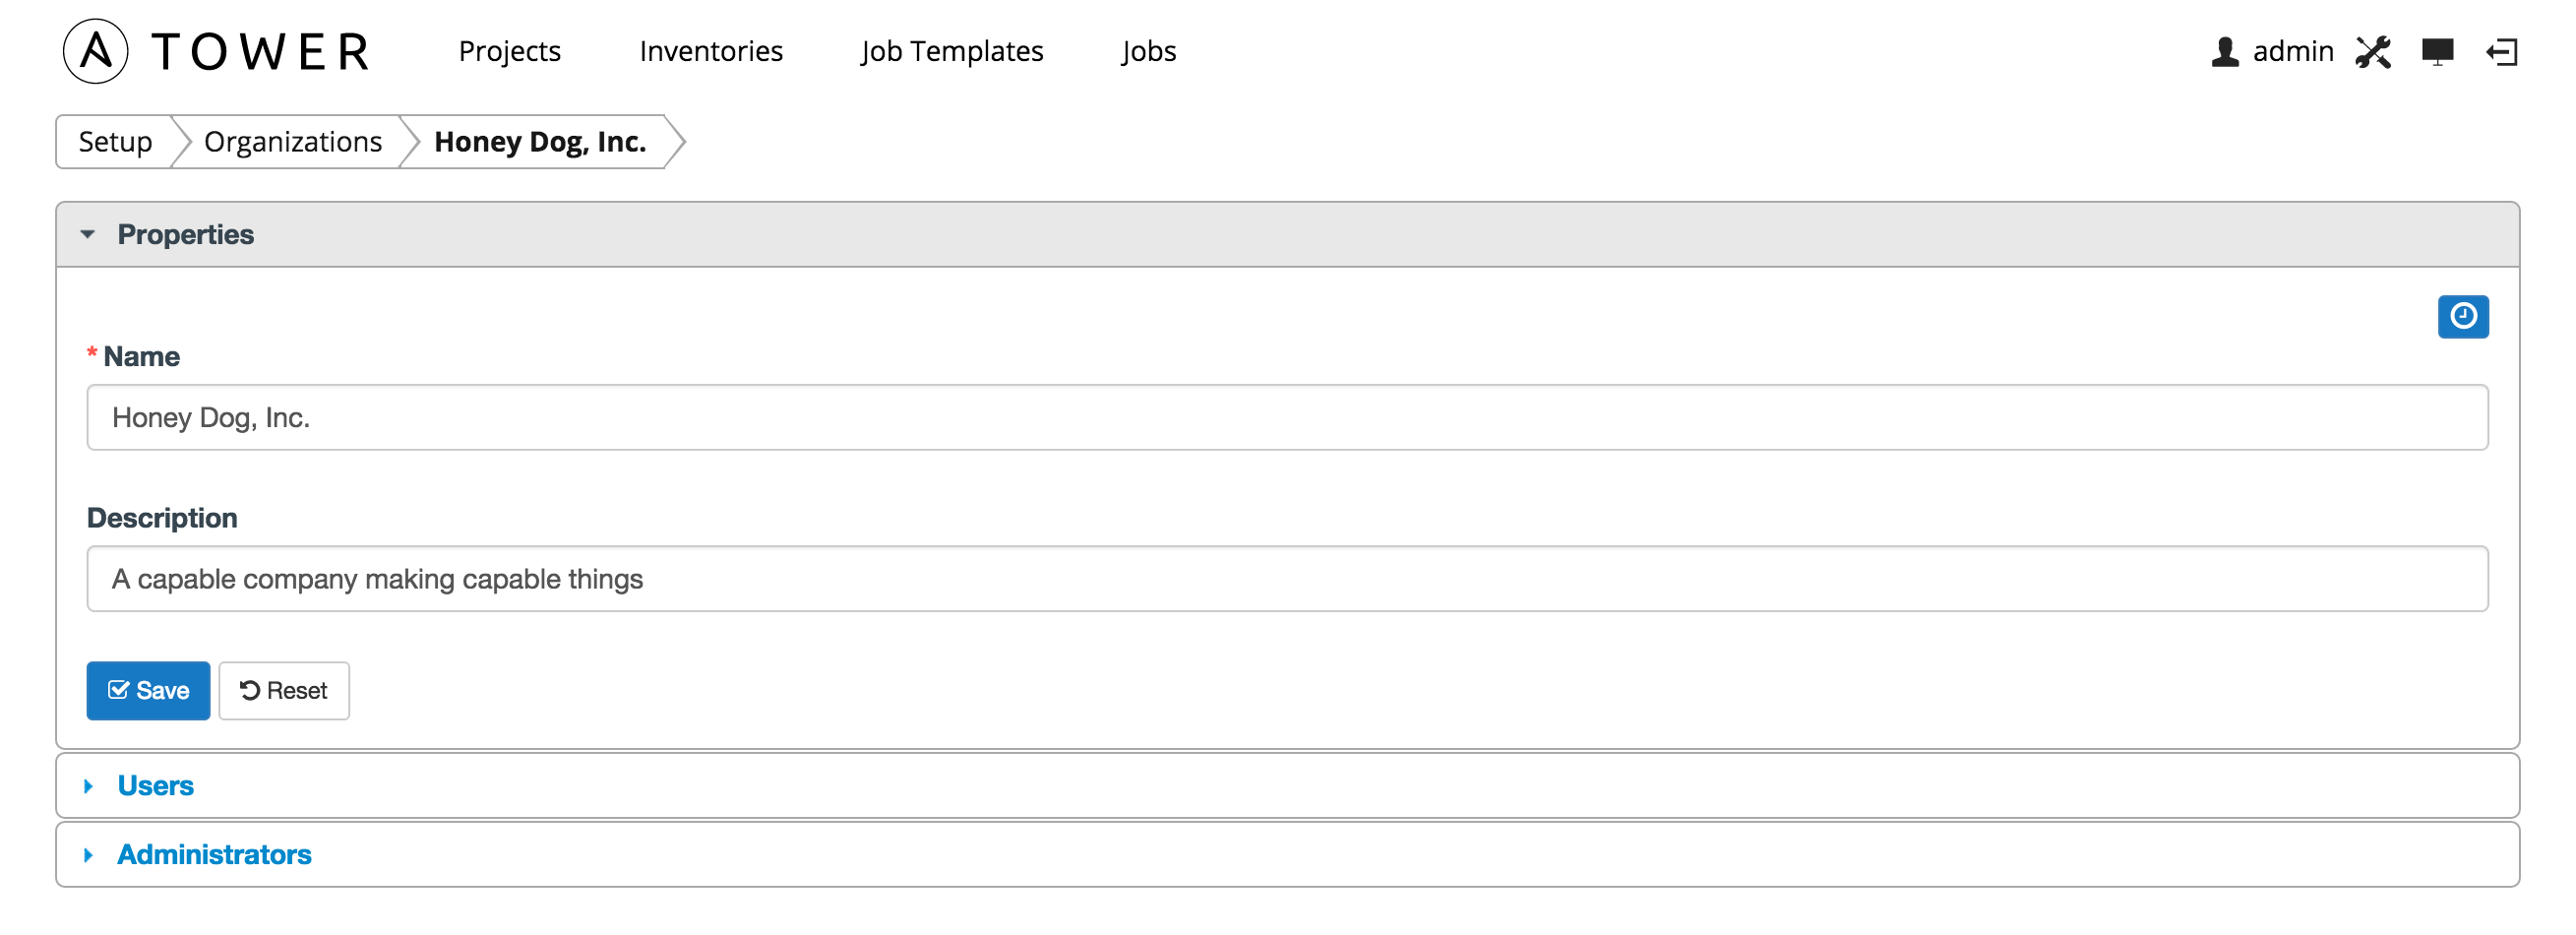
Once created, Tower displays the organization details, including two accordion-style menus below the organization name and description details, that provide for managing users and administrators for the organization.
5.1. Organizations - Users
The Users menu of an Organization displays all the Users associated with this organization. A user is someone with access to Tower with associated permissions and credentials. Expand the users menu by selecting Users.
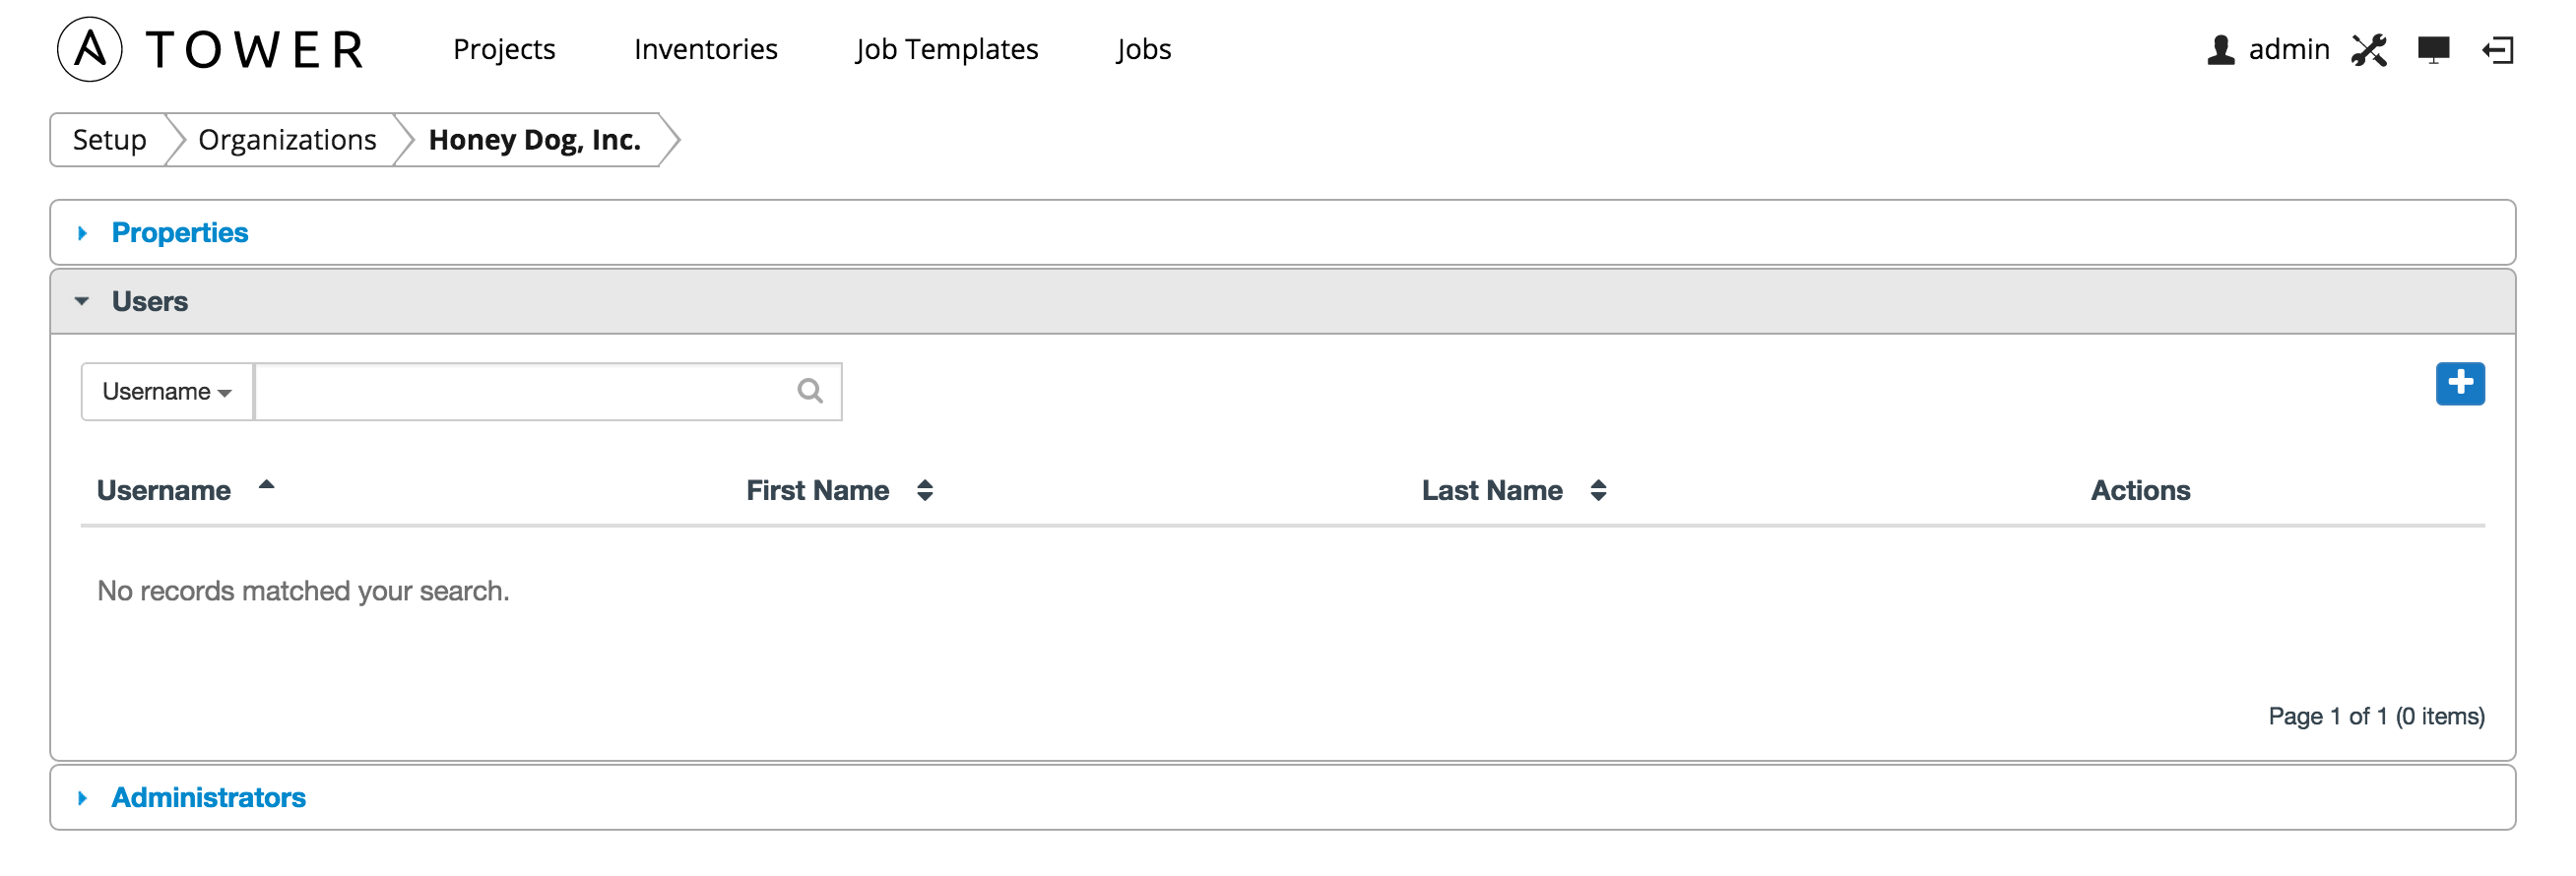
This menu allows you to manage the user membership for this organization. (User membership may also be managed on a per-user basis via the Users link available from the Setup  menu.) The user list may be sorted and searched by Username, First Name, or Last Name. Existing users may also be modified and removed using the Edit and Delete buttons. Clicking on a user brings up that user’s details, which can then be edited. For more information, refer to Users.
To add existing users to the organization, click the  button. Then,
select one or more users from the list of available users by clicking
the Select checkbox or clicking anywhere on the user row. Click the
Select button when done.

To create a new user and add it to the organization, click the  button
from the Add Users screen, which takes you to the new user dialog.
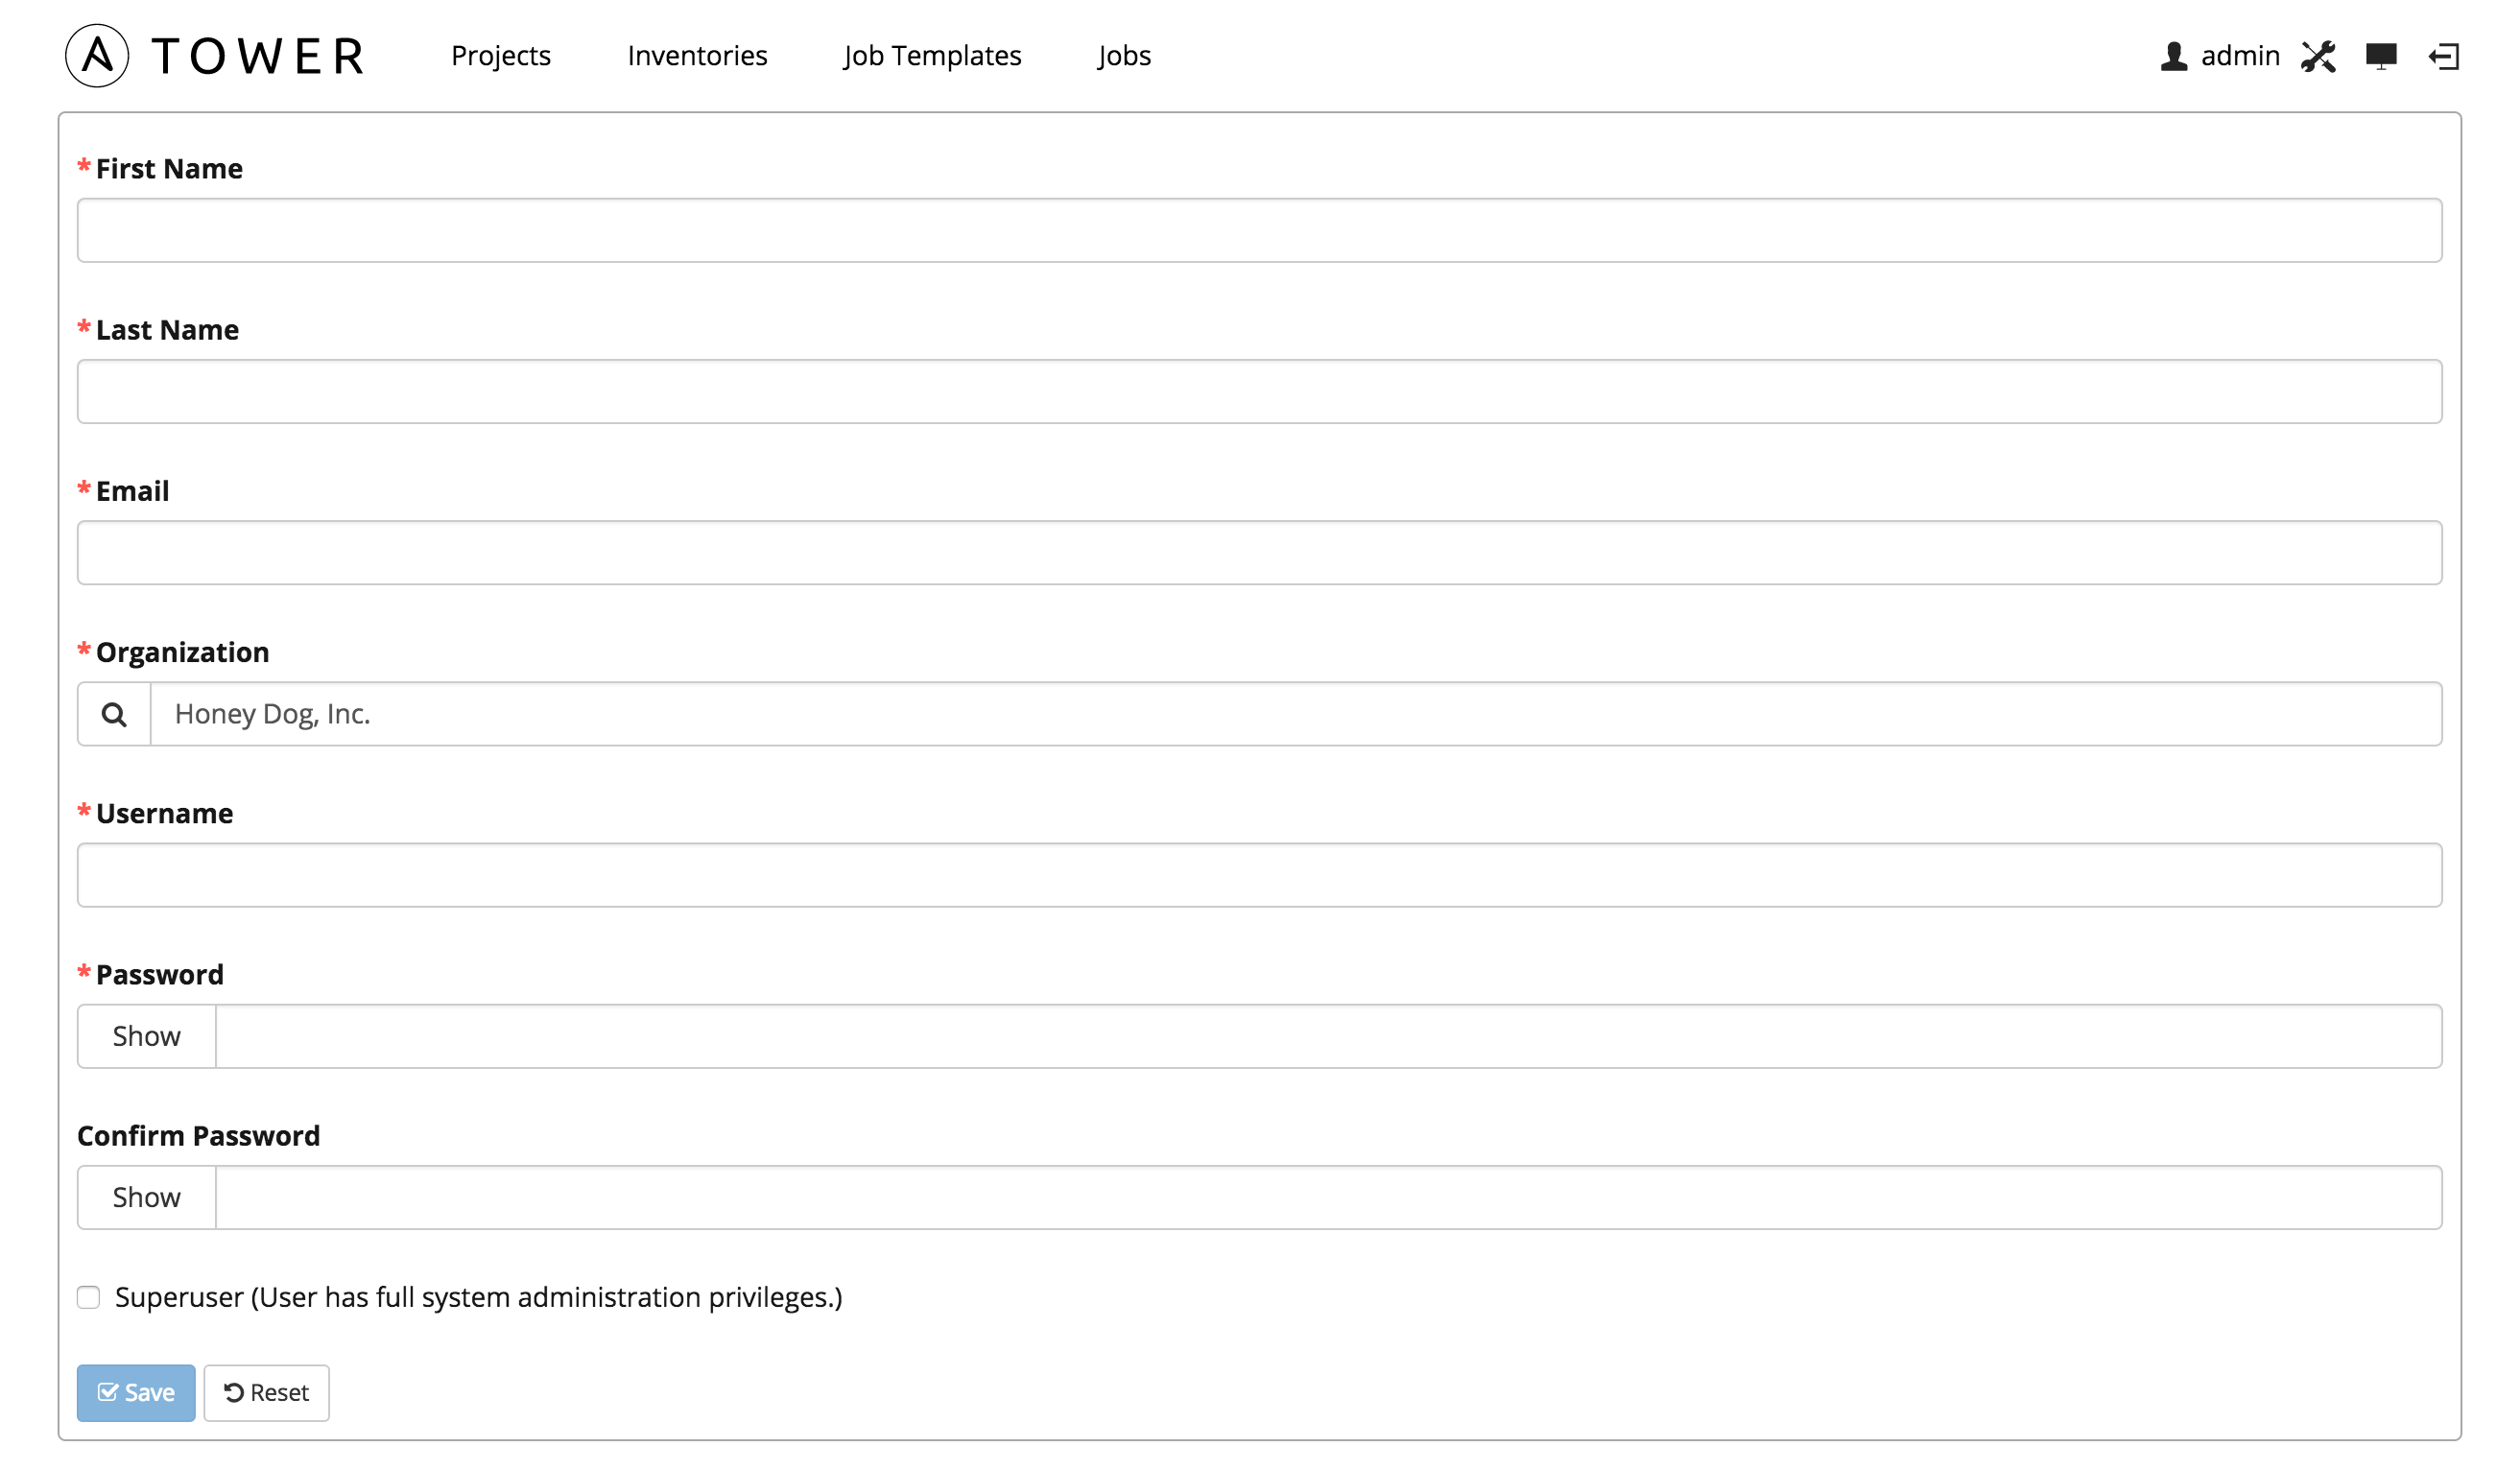
Enter the appropriate details into the following fields:
- First Name
- Last Name
- Organization (prefilled with the current organization–or the default organization if you are using a Basic license)
- Username
- Password
- Confirm Password
- Superuser (Gives this user full system administration privileges. Set with caution!)
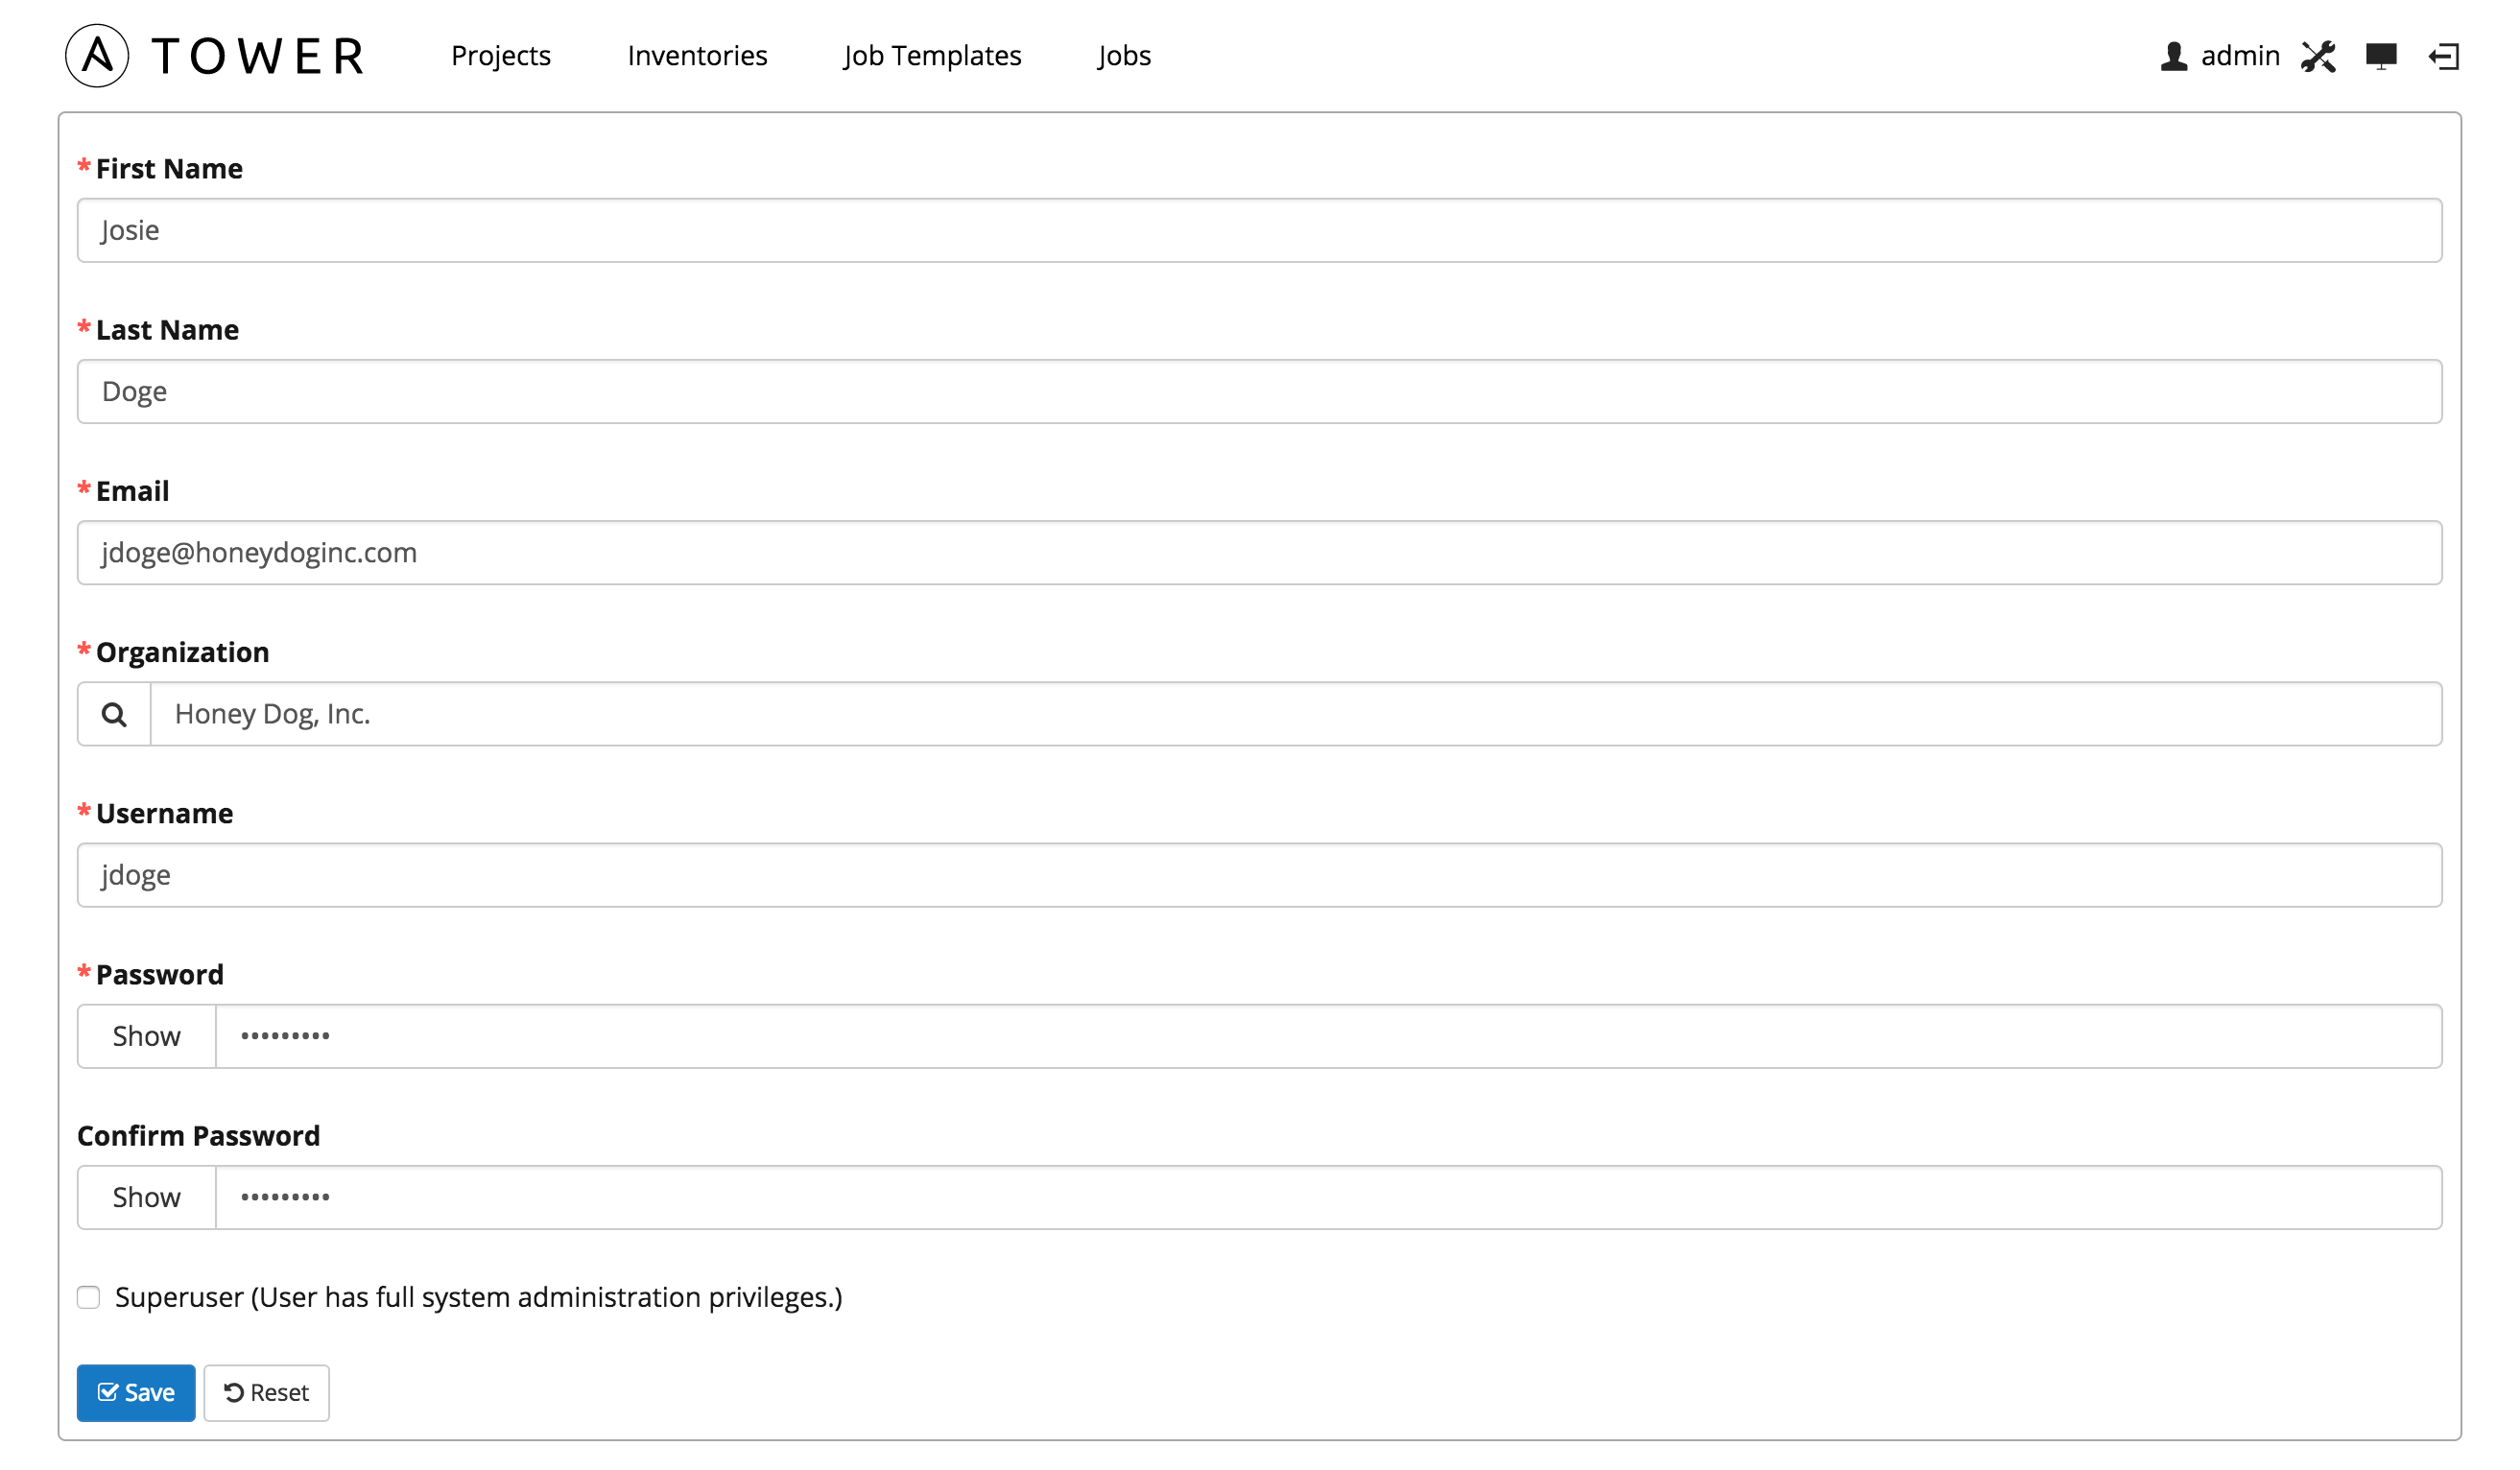
All of these fields are required. Select Save when finished and the user is added to the organization.

5.2. Organization - Administrators
An organization administrator is a type of user that has the rights to create, modify, or delete objects in the organization, including projects, teams, and users in that organization. Expand the Administrators menu by selecting Administrators.
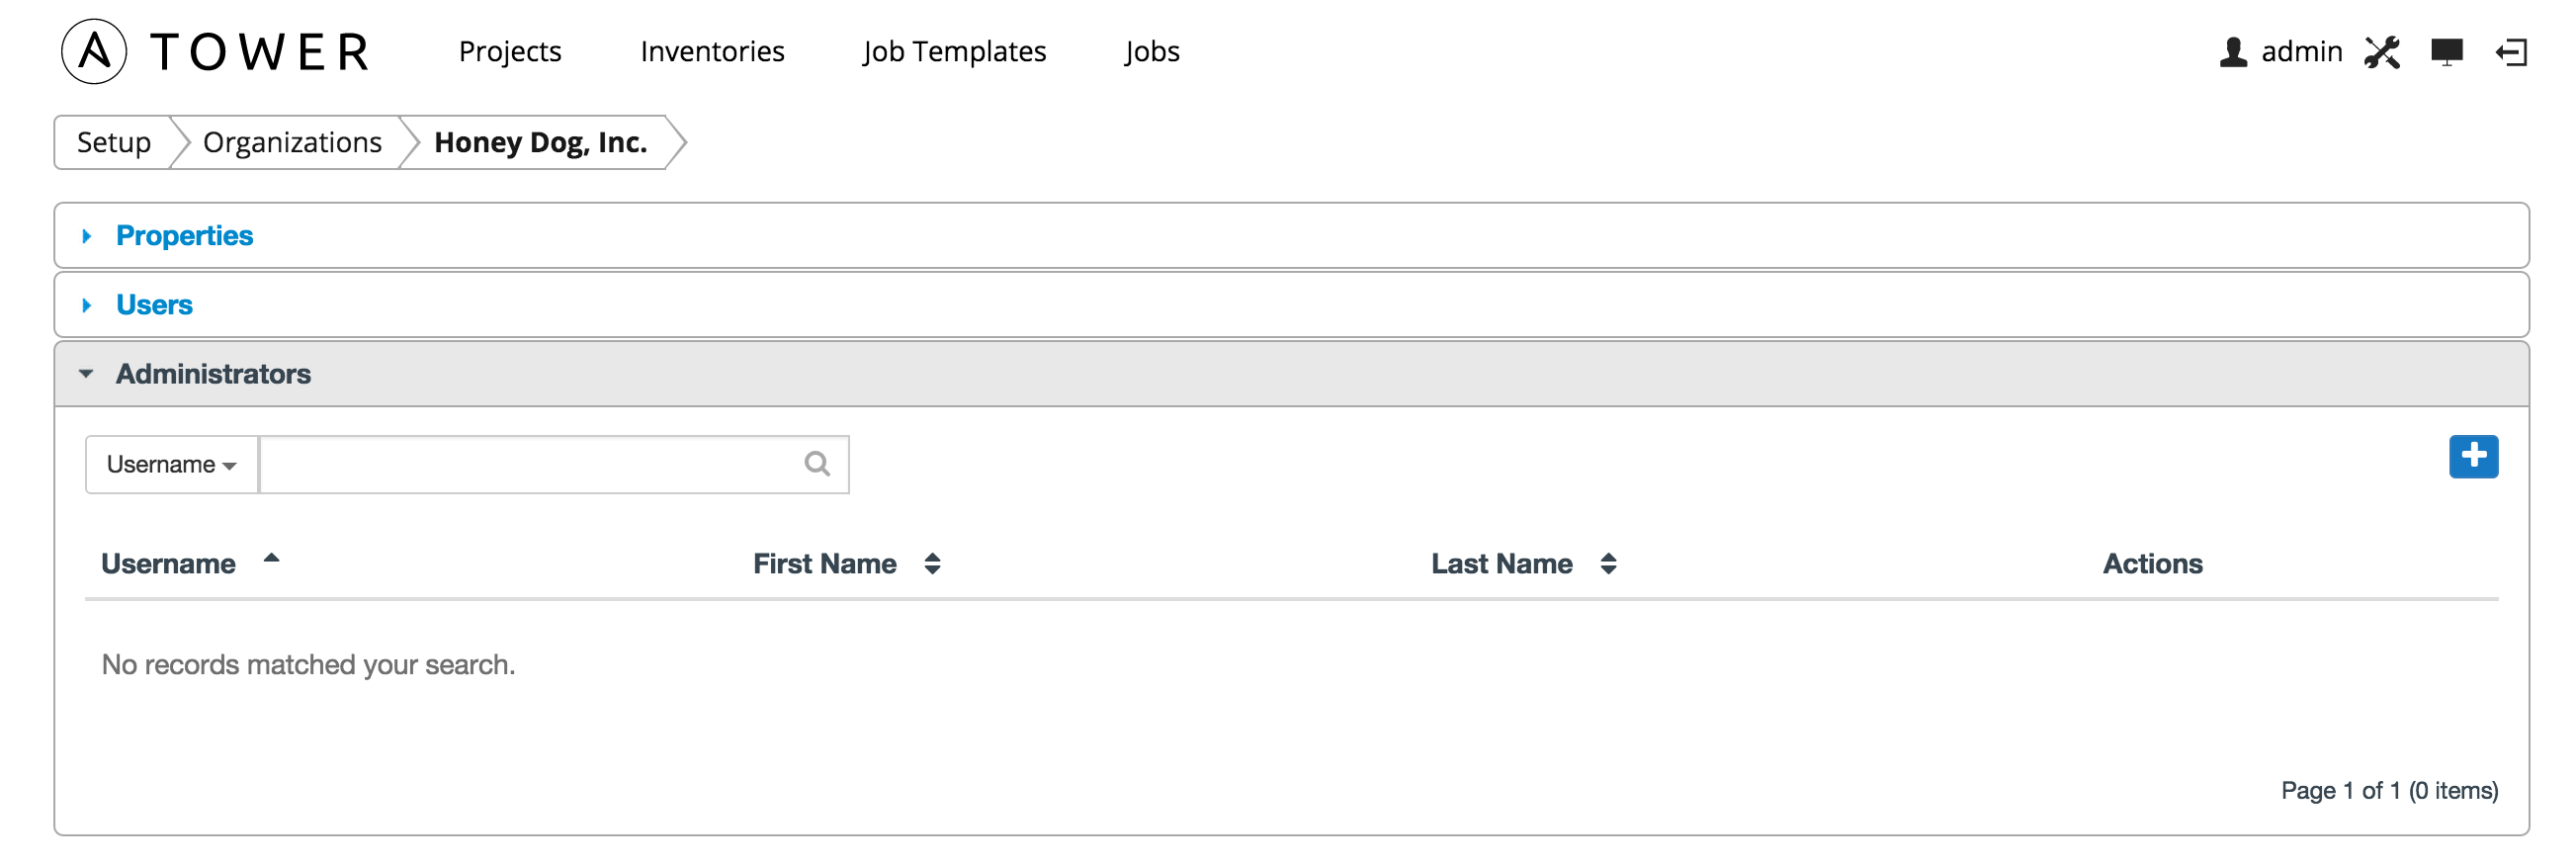
This menu displays a list of the users that are currently setup as an administrator of the organization. The administrator list may be sorted and searched by Username, First Name, or Last Name.
Note
Any user marked as a ‘Superuser’ is implicitly an administrator of all organizations, and is not displayed here.
To add an administrator to the organization, click the  button. Select one or more users from the list of available users by clicking the Select checkbox or clicking anywhere on the user row. Click the Select button when done.

Note
A user must first be added to the organization before it can be added to the list of administrators for that organization.


