7. Teams
A team is a subdivision of an organization with associated users, projects, credentials, and permissions. Teams provide a means to implement role-based access control schemes and delegate responsibilities across organizations. For instance, permissions may be granted to a whole team rather than each user on the team.
You can create as many teams of users as make sense for your organization. Each team can be assigned permissions, just as with Users.
Teams can also scalably assign ownership for Credentials, preventing multiple Tower interface click-throughs to assign the same credentials to the same user.
The Teams link, accessible by clicking on the  button, allows you to manage the teams for Tower. The team list may be sorted and searched by Name, Description, or Organization.
Buttons located in the upper right corner of the Team tab provide the following actions:
- Create a new team
- View Activity Stream

To create a new team, click the  button.

Enter the appropriate details into the following fields:
- Name
- Description
- Organization (Choose from an existing organization)
Select Save.
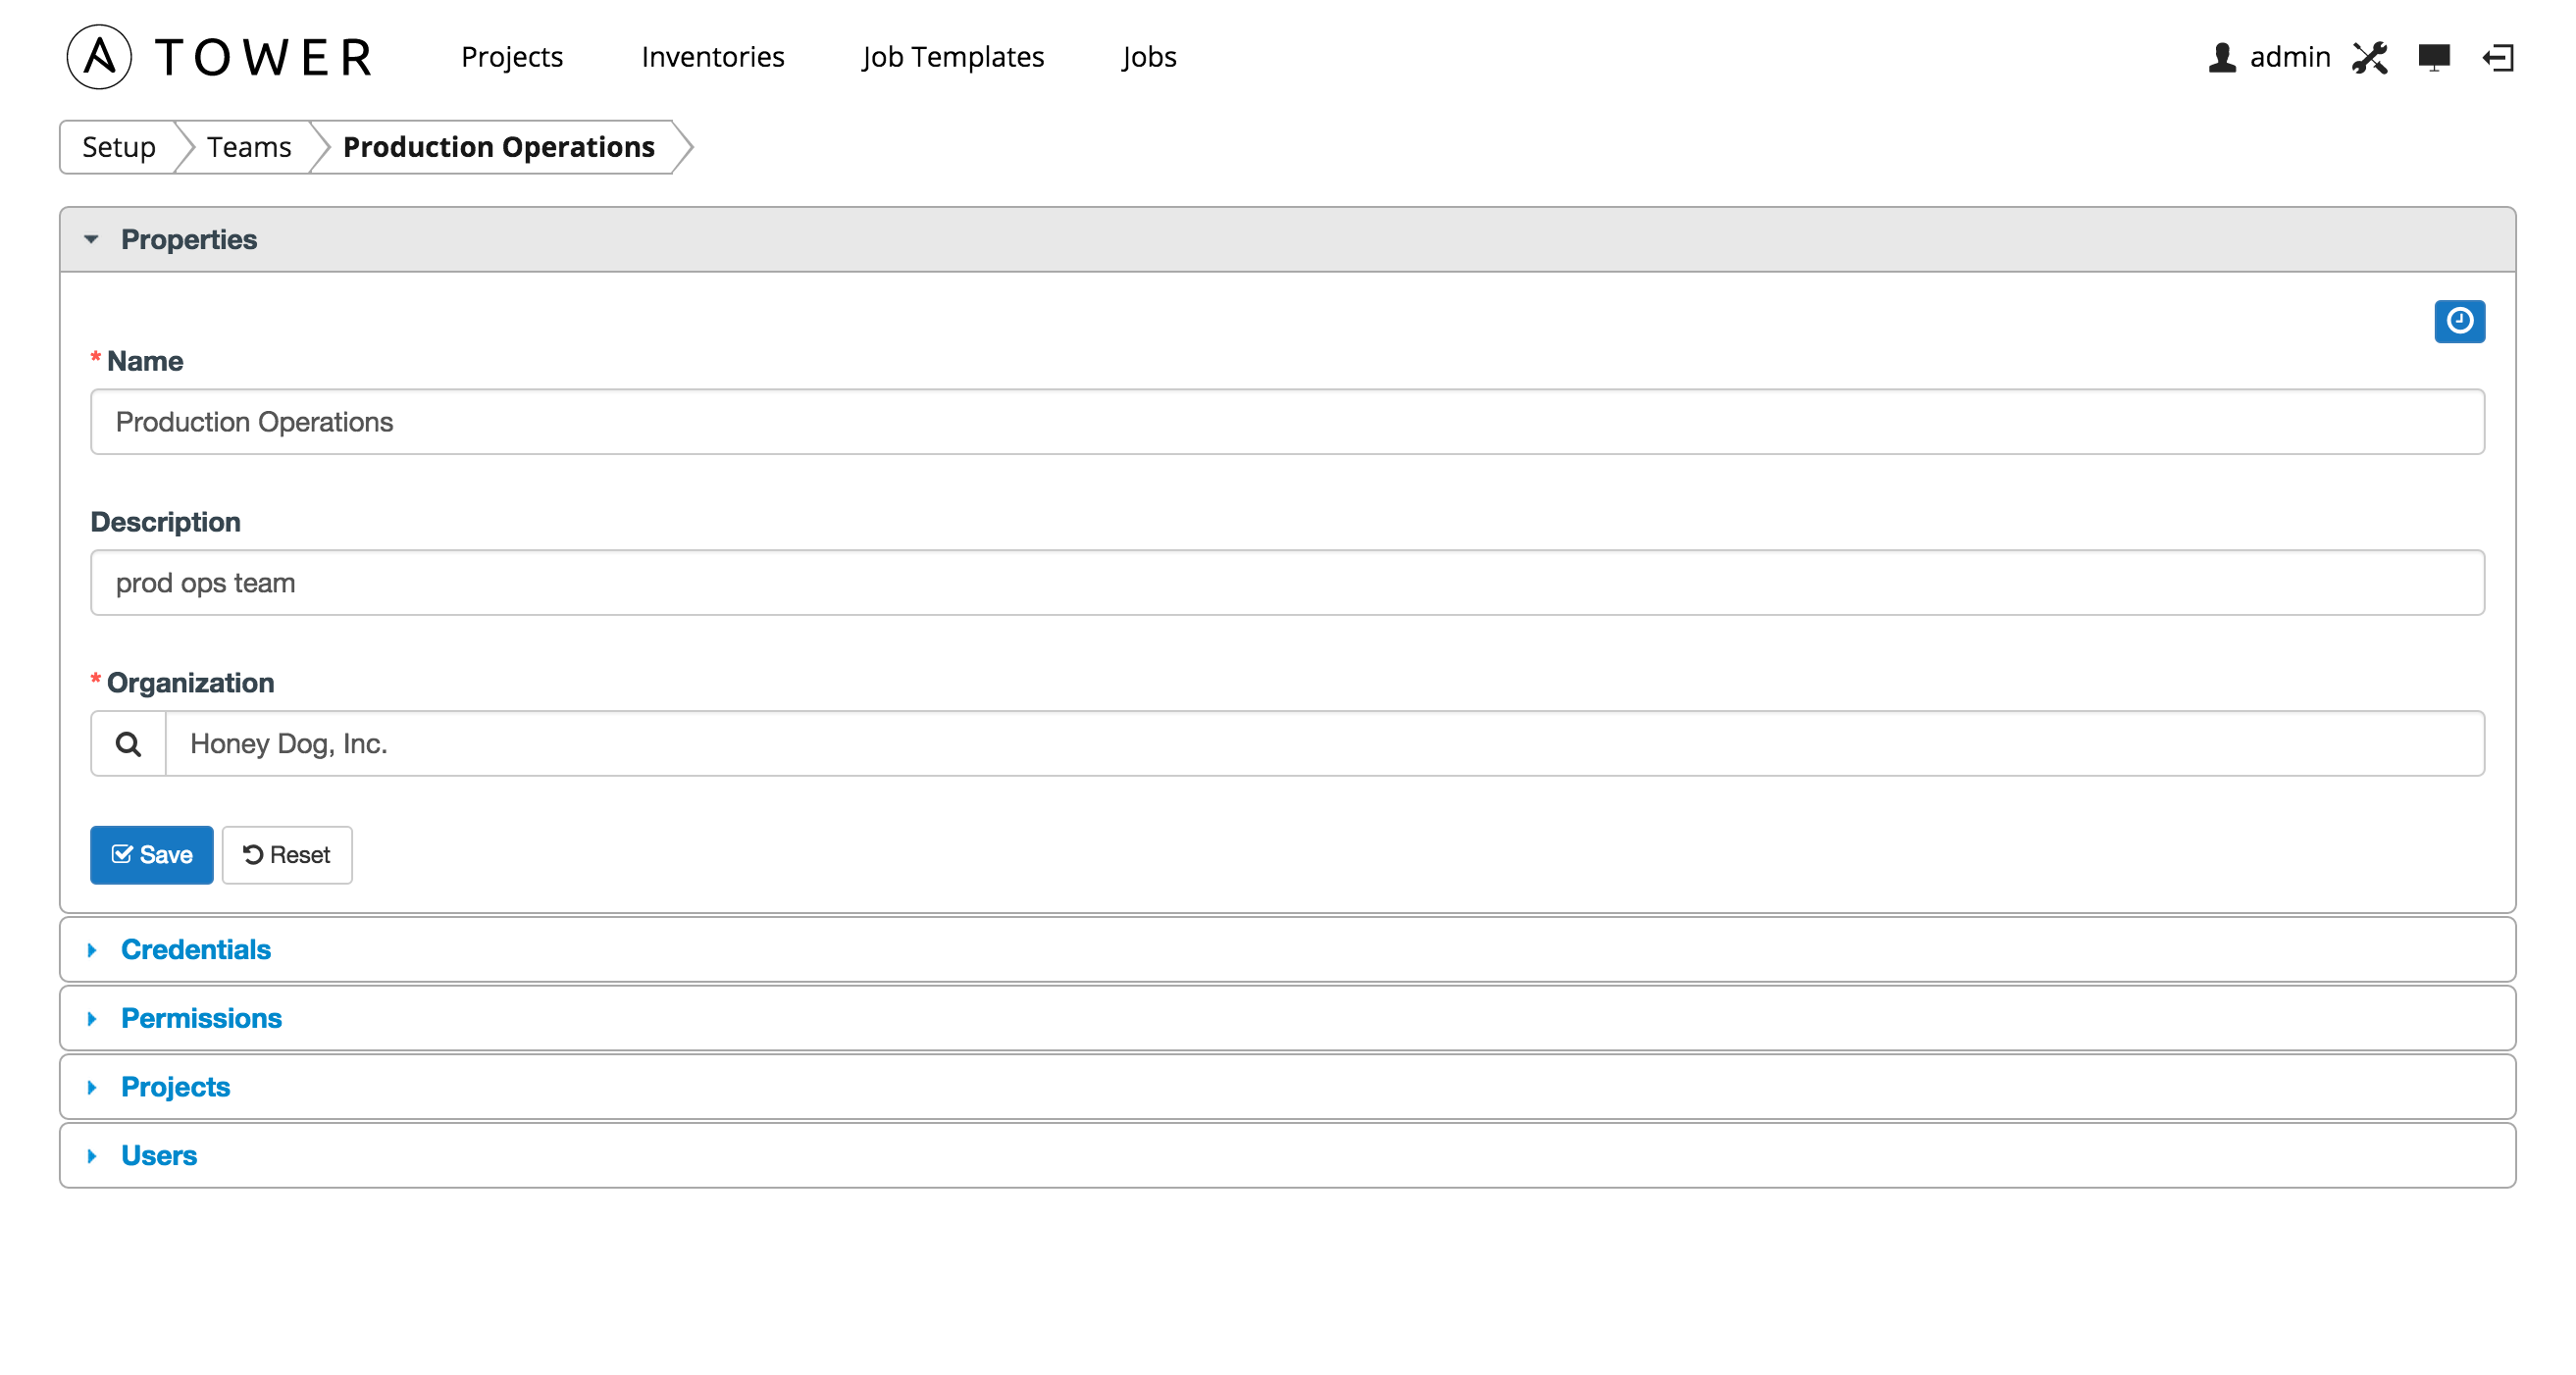
Once the team is successfully created, Tower opens the Edit Team dialog. This is the same menu that is opened if the Edit button is clicked from the Teams link. Here, Team Settings, Credentials, Permissions, Projects, and Users associated with this team may be reviewed and modified.
7.1. Teams - Credentials
Credentials are utilized by Tower for authenticating when launching jobs against machines, to synchronize with inventory sources, and to import project content from a version control system. For details about how to use credentials, refer to Credentials.
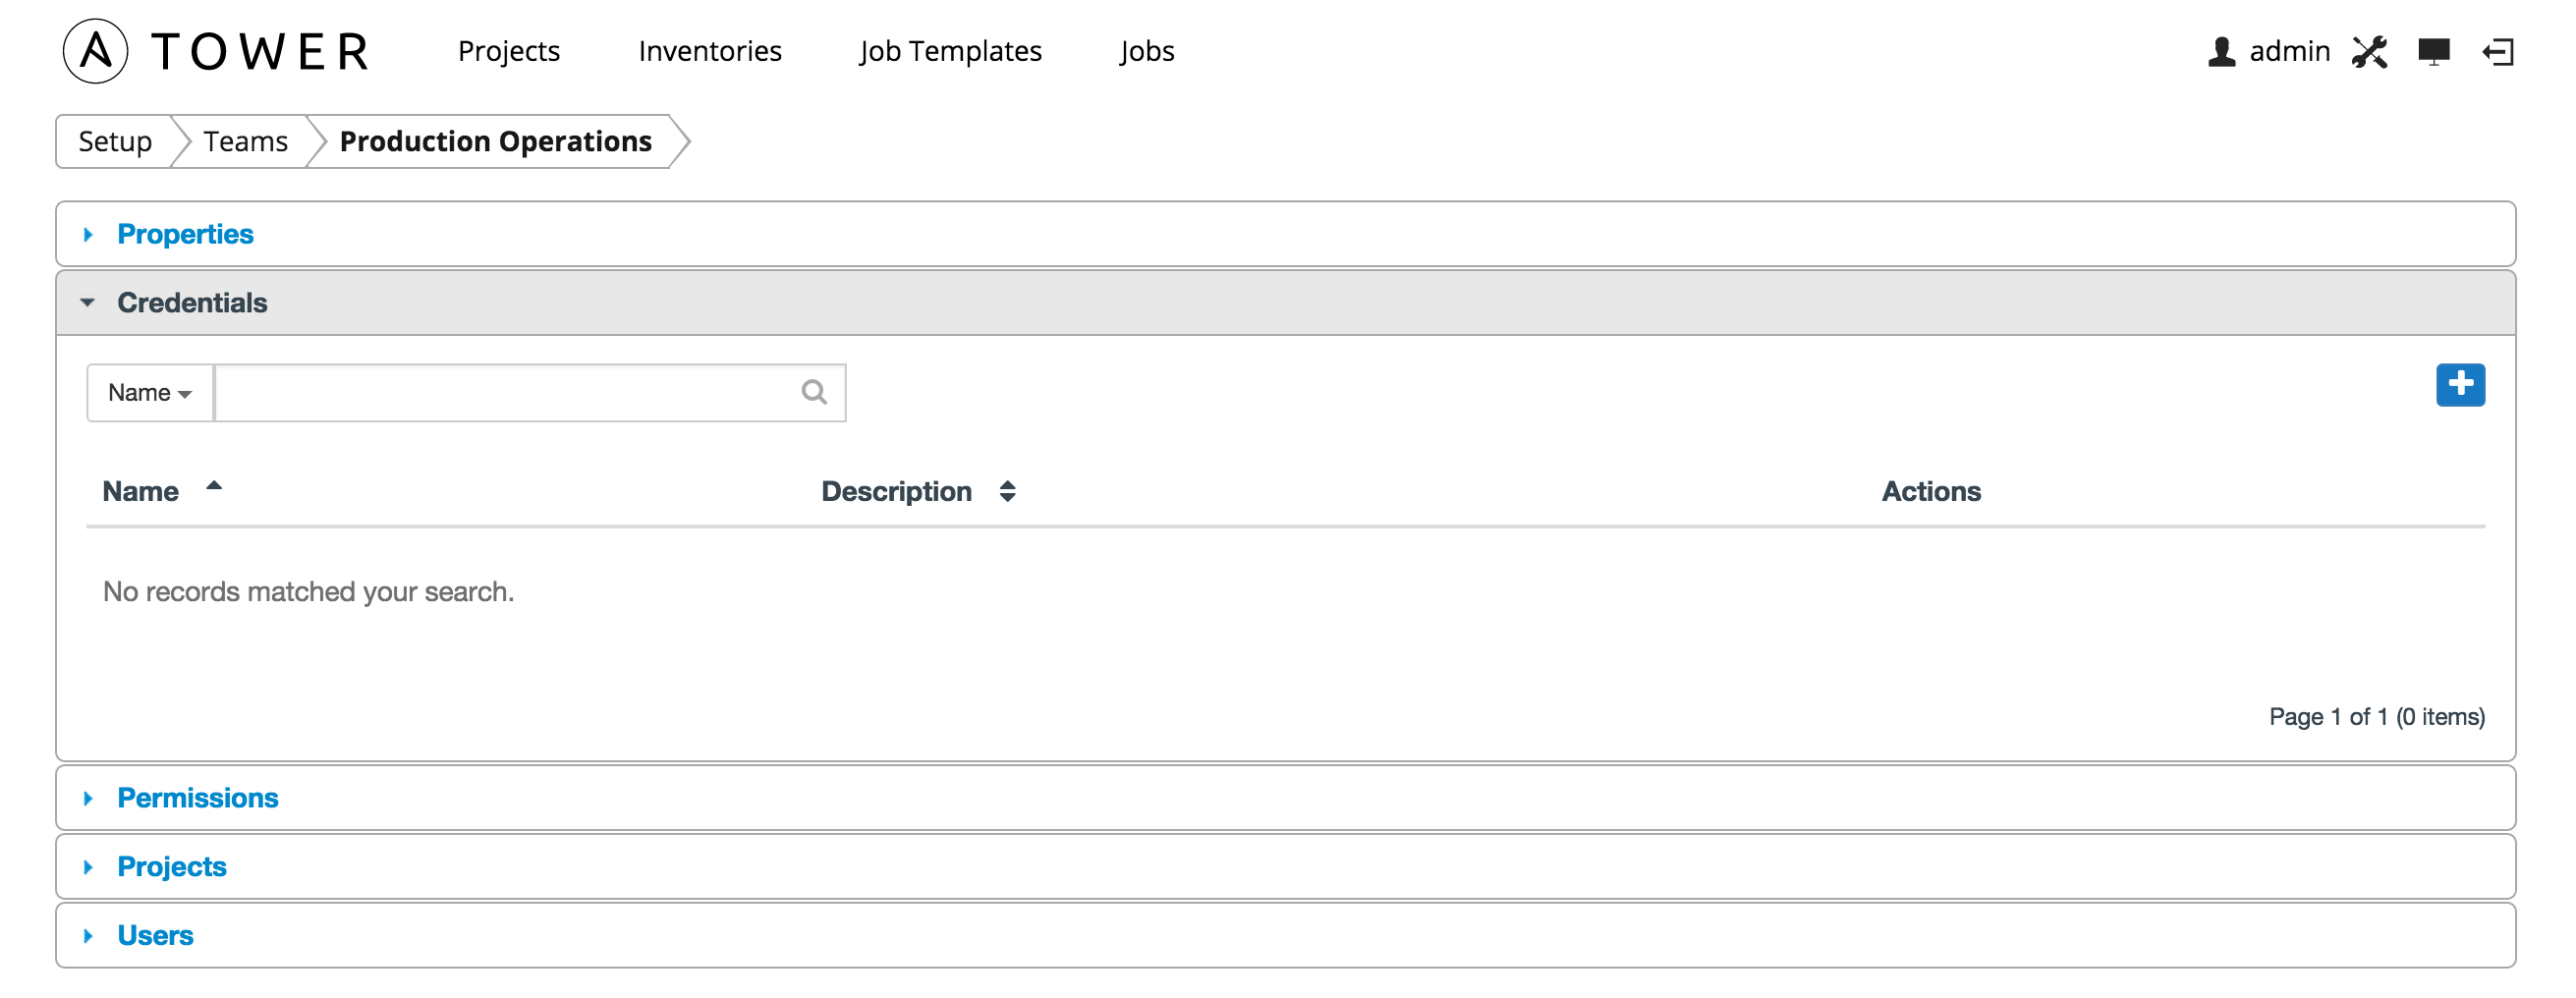
To add credentials to the team, click the  button. Then, select one or more credentials from the list of available credentials by clicking the Select checkbox. Click the Select button when done.

To create new credentials and add them to the team, click the  button
from the Add Credentials screen.
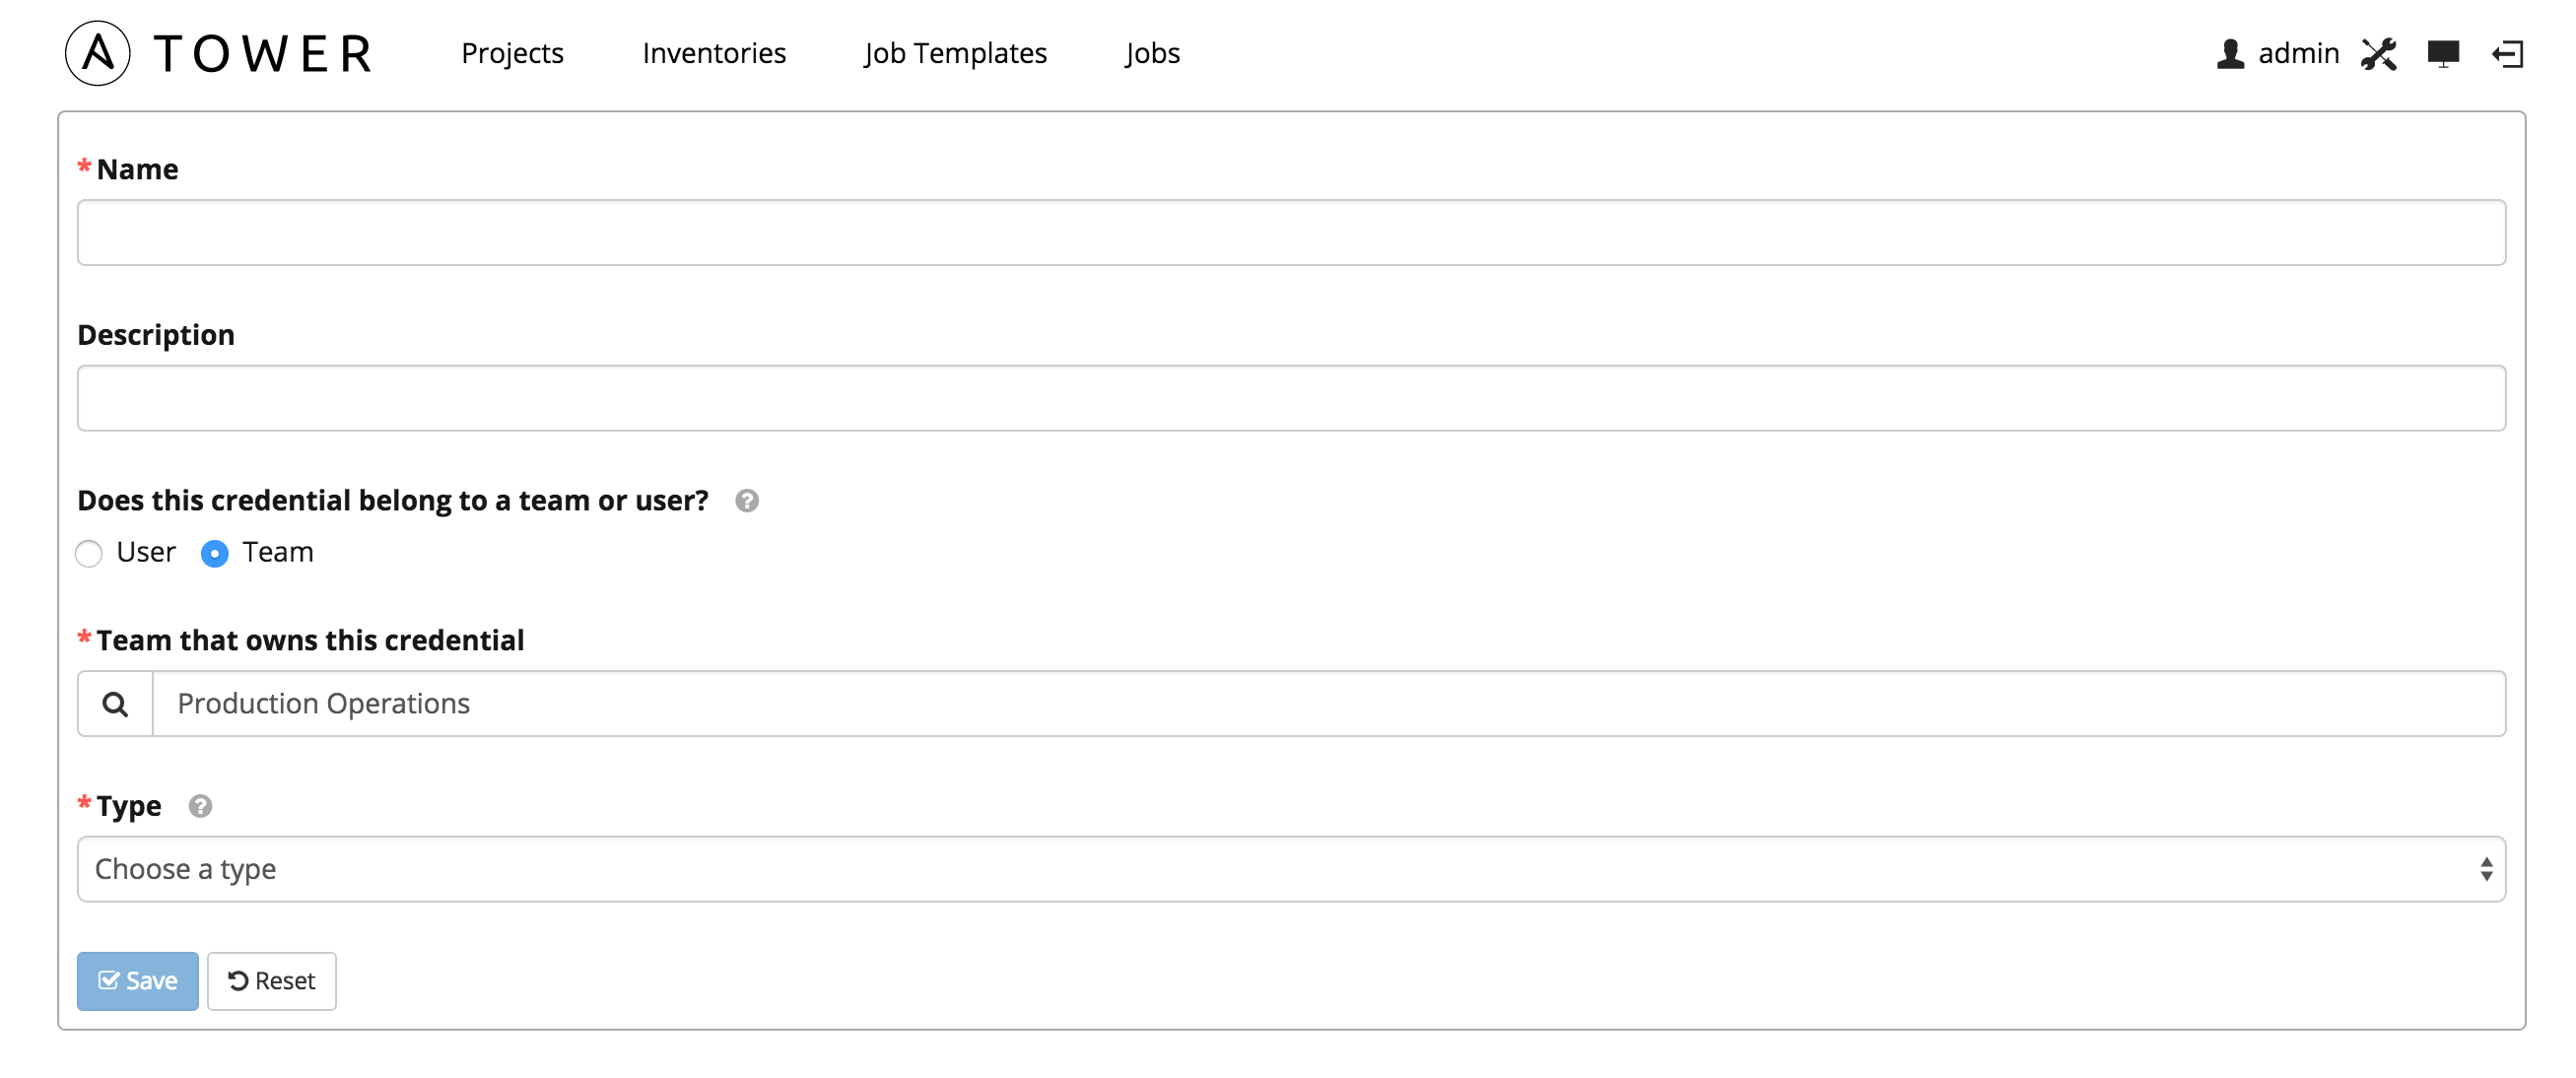
Enter the appropriate details depending on the type of credential and select Save. (For details about credential types, refer to Credentials.)
7.2. Teams - Permissions
The set of privileges assigned to users and teams that provide the ability to read, modify, and administer projects, inventories, and other Tower elements are permissions.
There are two permission types available to be assigned to users and teams, each with its own set of permissions available to be assigned:
- Inventory: grants permission to act on inventories, groups, and hosts
- Read: View groups and hosts within a specified inventory.
- Write: Create, modify, and remove groups, and hosts within a specified inventory. Does not give permission to modify the inventory settings. This permission also grants the Read permission.
- Admin: Modify the settings for the specified inventory. This permission also grants Read and Write permissions.
- Execute commands: Allow the user to execute commands on the inventory.
- Job Template: grants permission to launch jobs from the specified
project against the specified inventory
- Create: Allow the user or team to create job templates. This implies that they have the Run and Check permissions.
- Run: Launch jobs of type Run. This permission also grants the Check permission.
- Check: Launch jobs of type Check.
This menu displays a list of the permissions that are currently available. The permissions list may be sorted and searched by Name, Inventory, Project or Permission type.
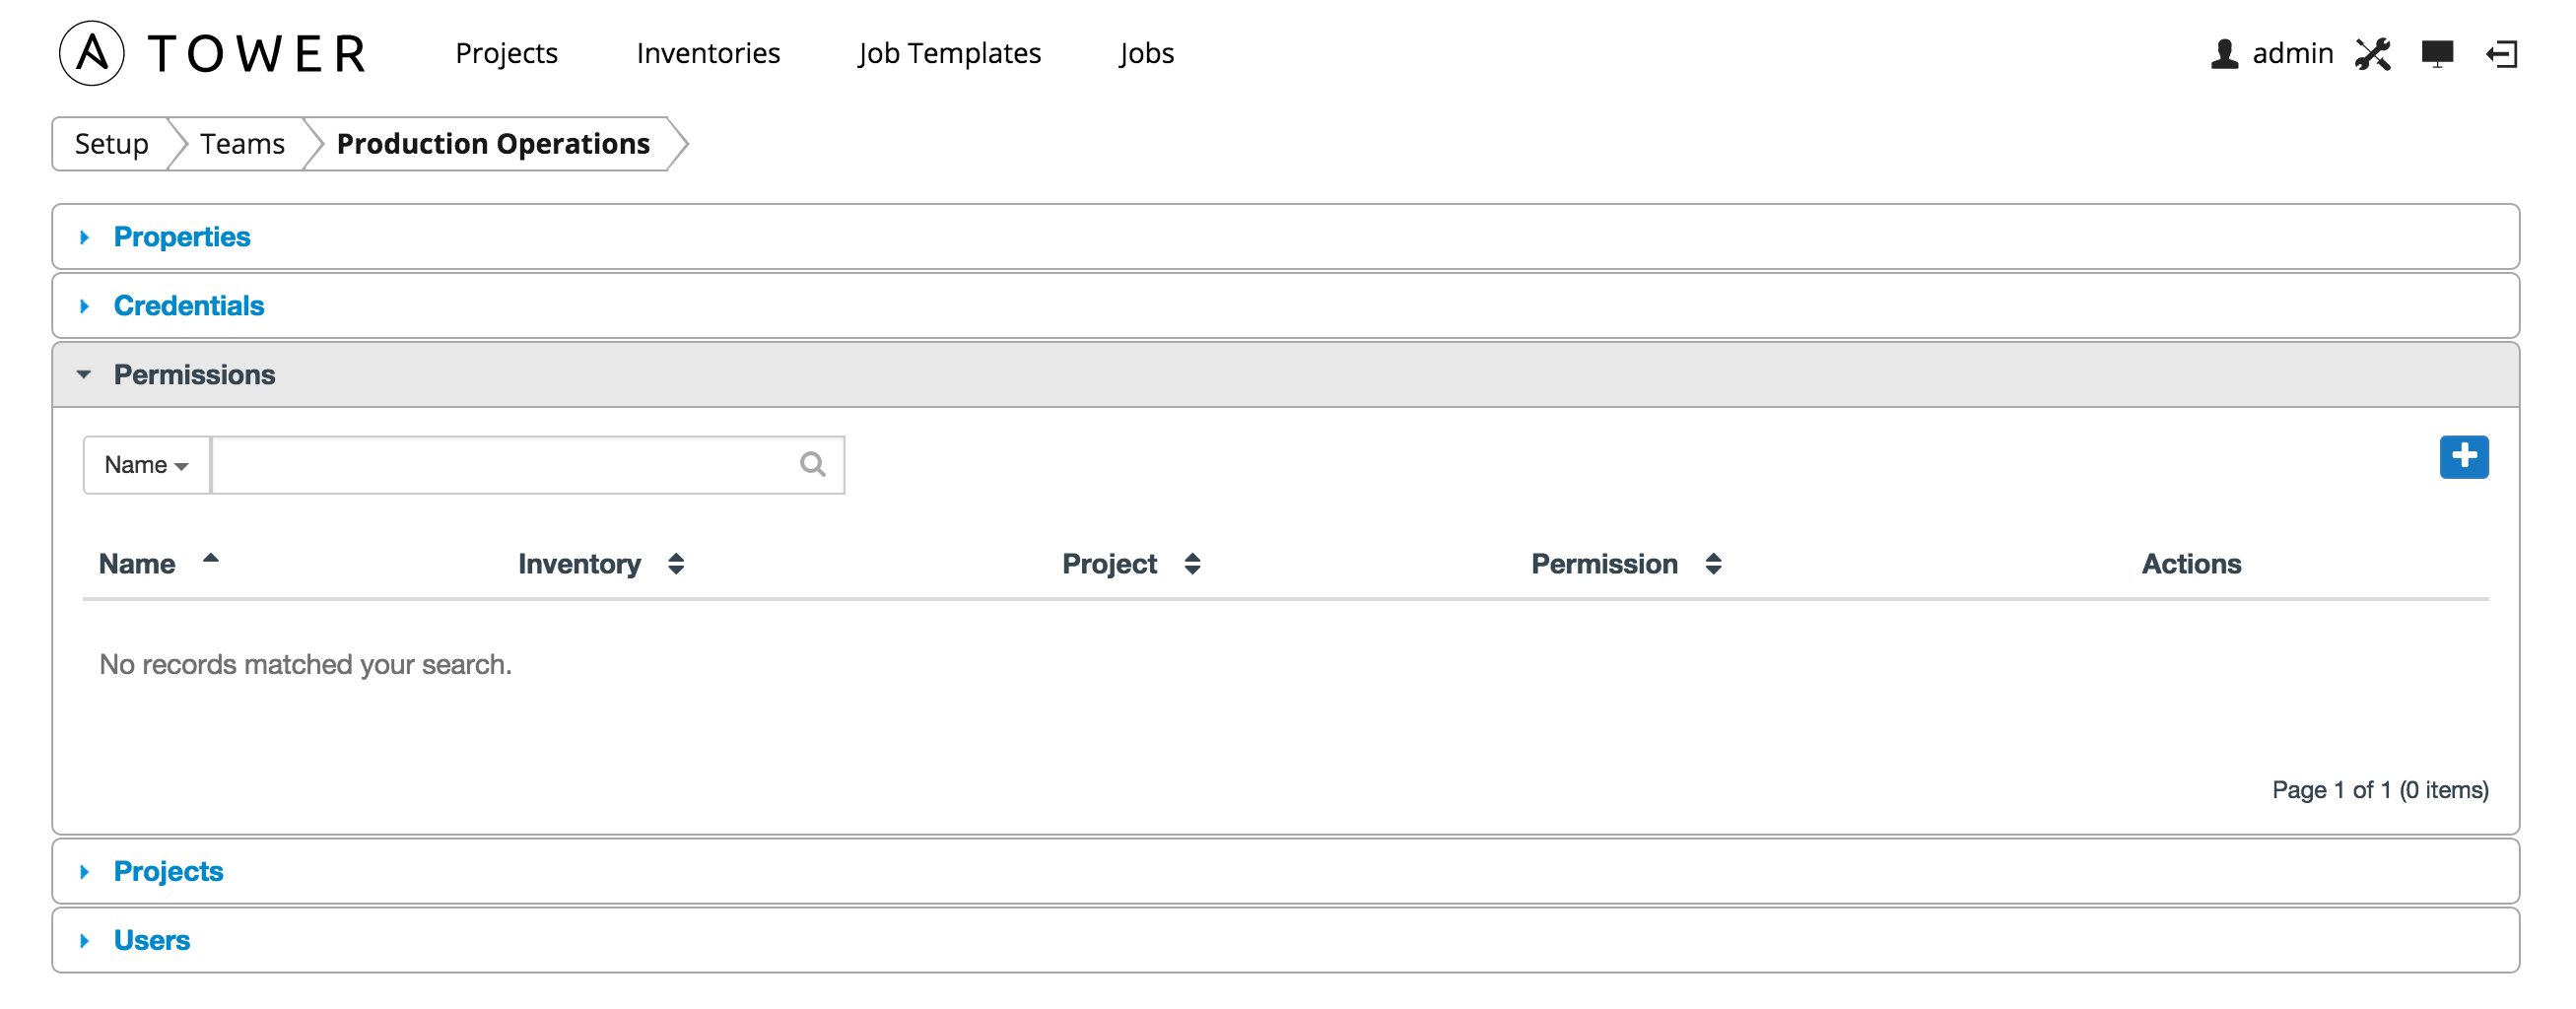
To add new permissions to the team, click the  button, which launches the Add Permission dialog.
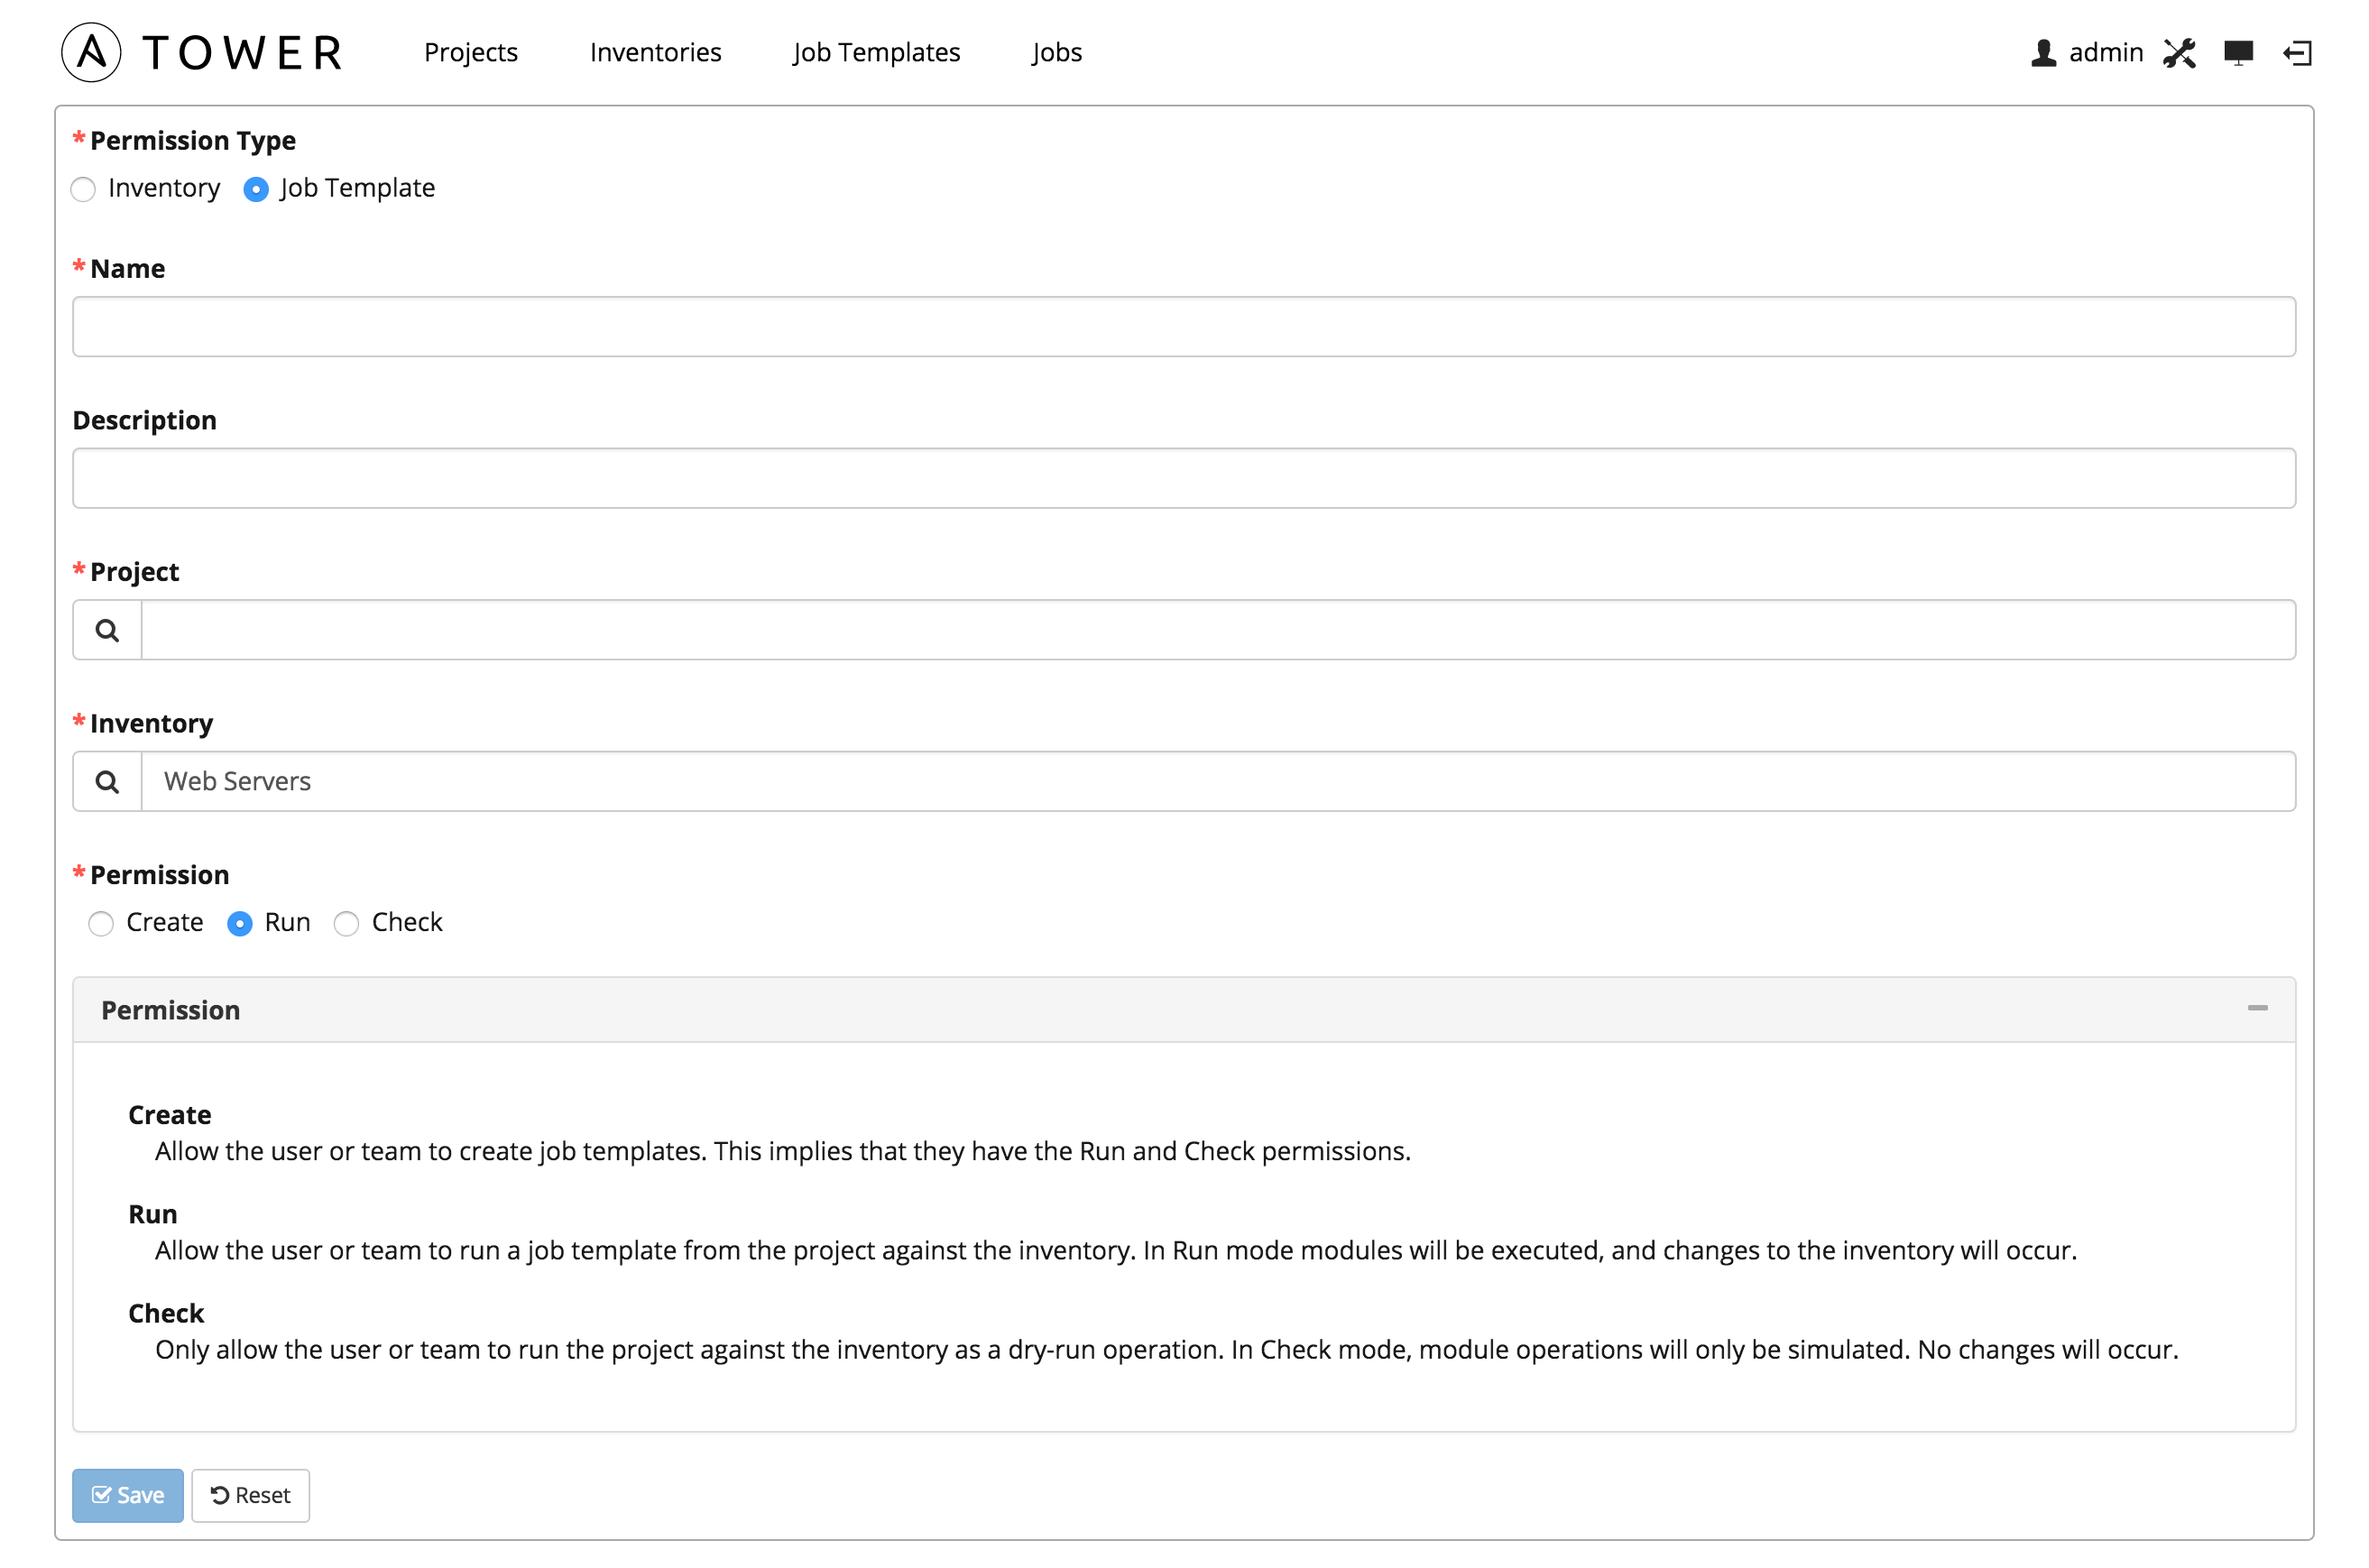
Enter the appropriate details into the following fields:
- Permission Type
- Inventory
- Job Template
- Name
- Description
Note
Before you can select an Inventory, you must first create it and make it available. Refer to Inventories for more information.
Selecting a Permission Type of either Inventory or Job Template changes the appearance of the Add Permission dialog to present appropriate options for each type of permission.
For a permission of type Inventory, enter the following details:
- Inventory (Select from the available inventories)
- Permission
- Read
- Write
- Admin
For a permission of type Job Template, enter the following details:
- Project (Select from the available projects)
- Inventory (Select from the available inventories)
- Permission
- Create
- Run
- Check
Select Save.
7.3. Teams - Projects
This displays the list of projects that this team has access to. This list may be searched by Project Name or Description. Before a project can be added, it must first be created. For more information about projects, refer to Projects.
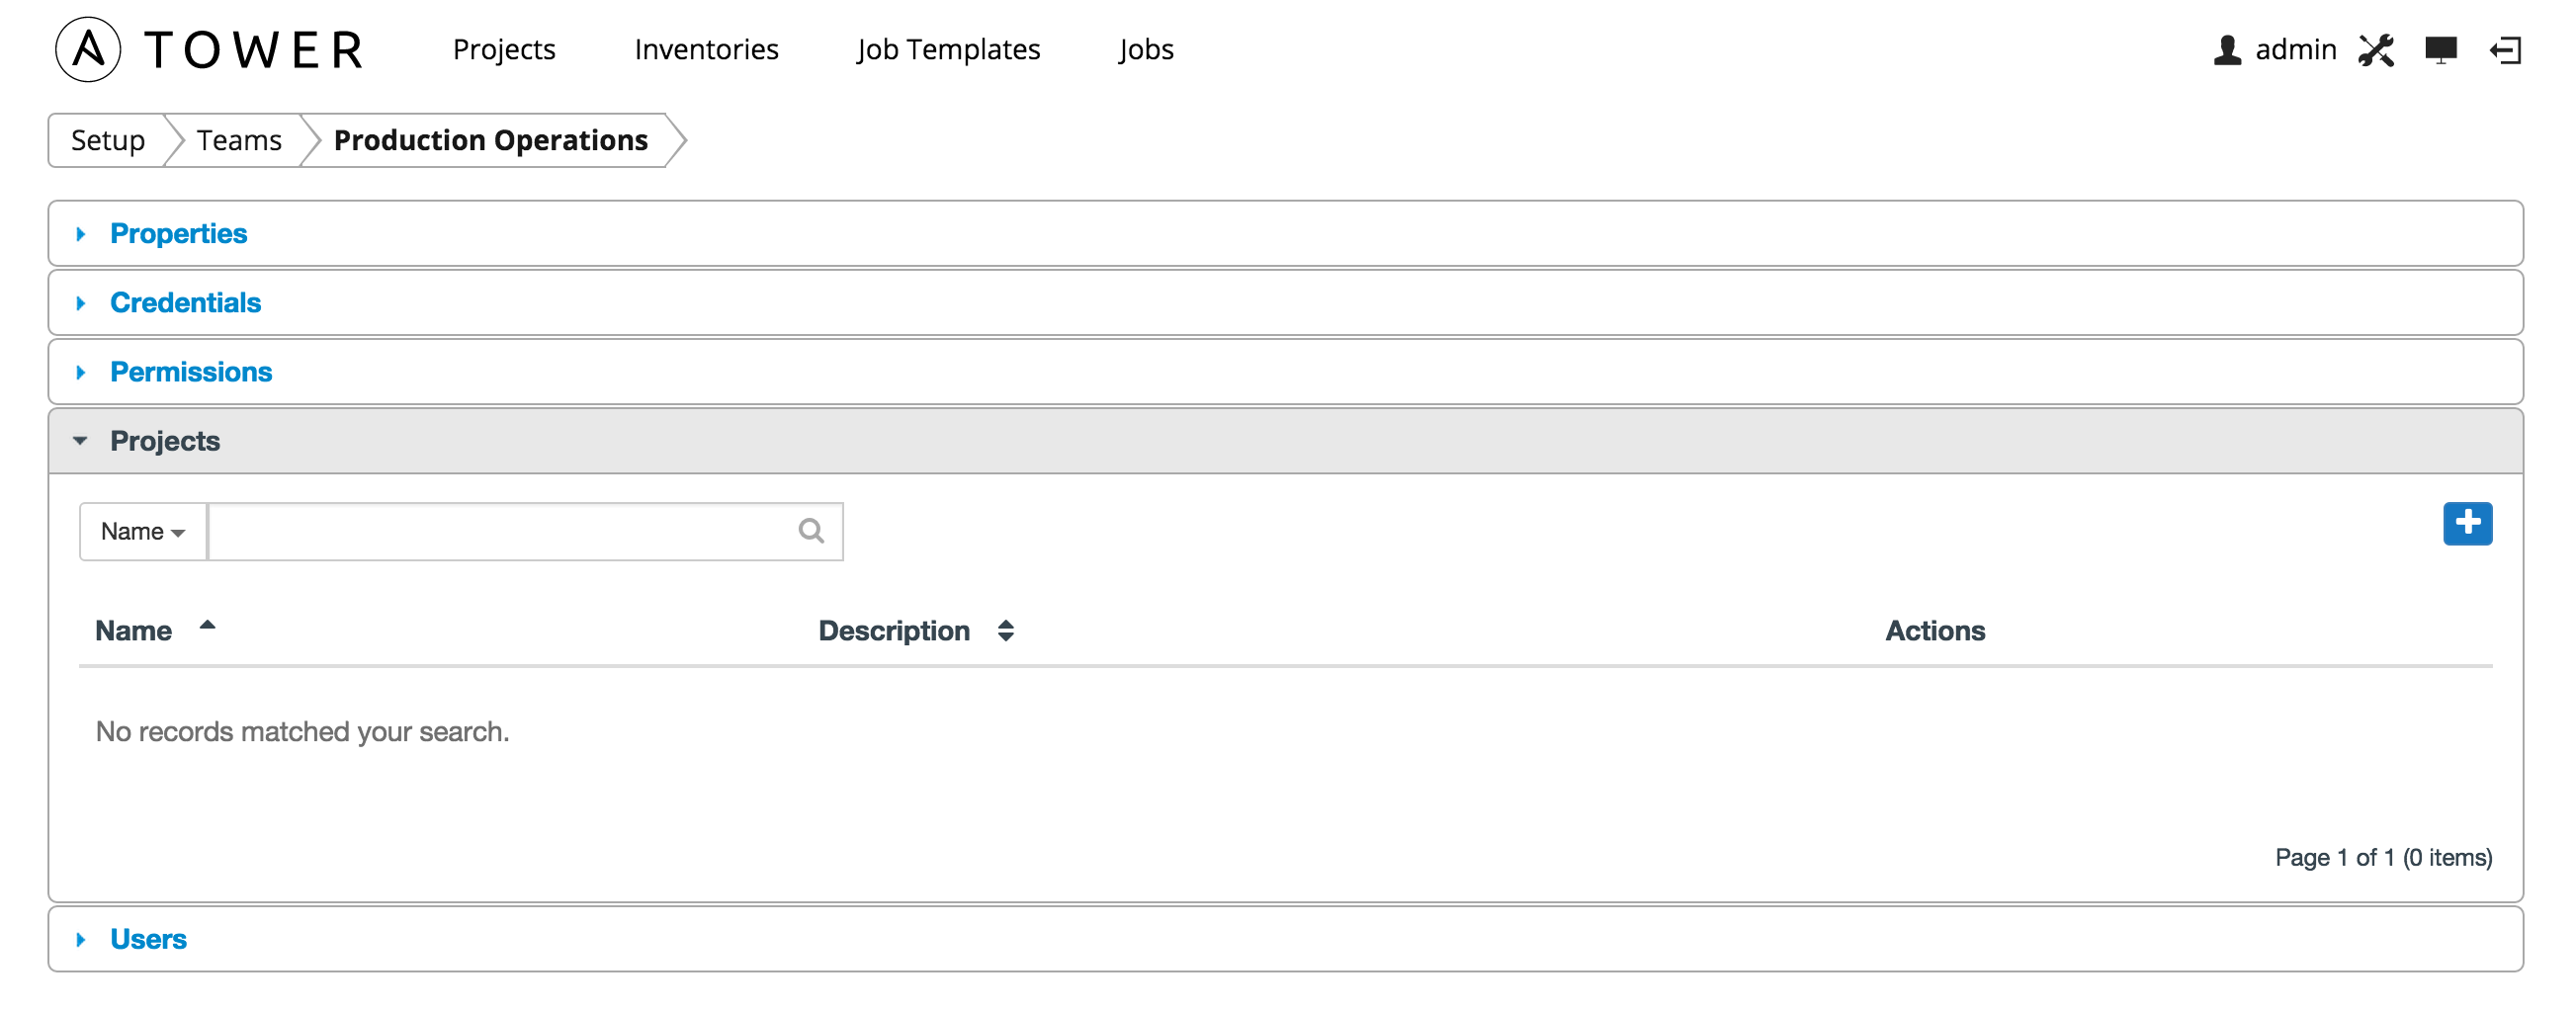
To add an existing project to the team, click the  button. Then select one or more available projects from the list by clicking the Select checkbox or by clicking anywhere on the user row. Select Finished when done.

To create a new project and it to the team, click the  button from the
Add Project screen, which launches the Create Project dialog.
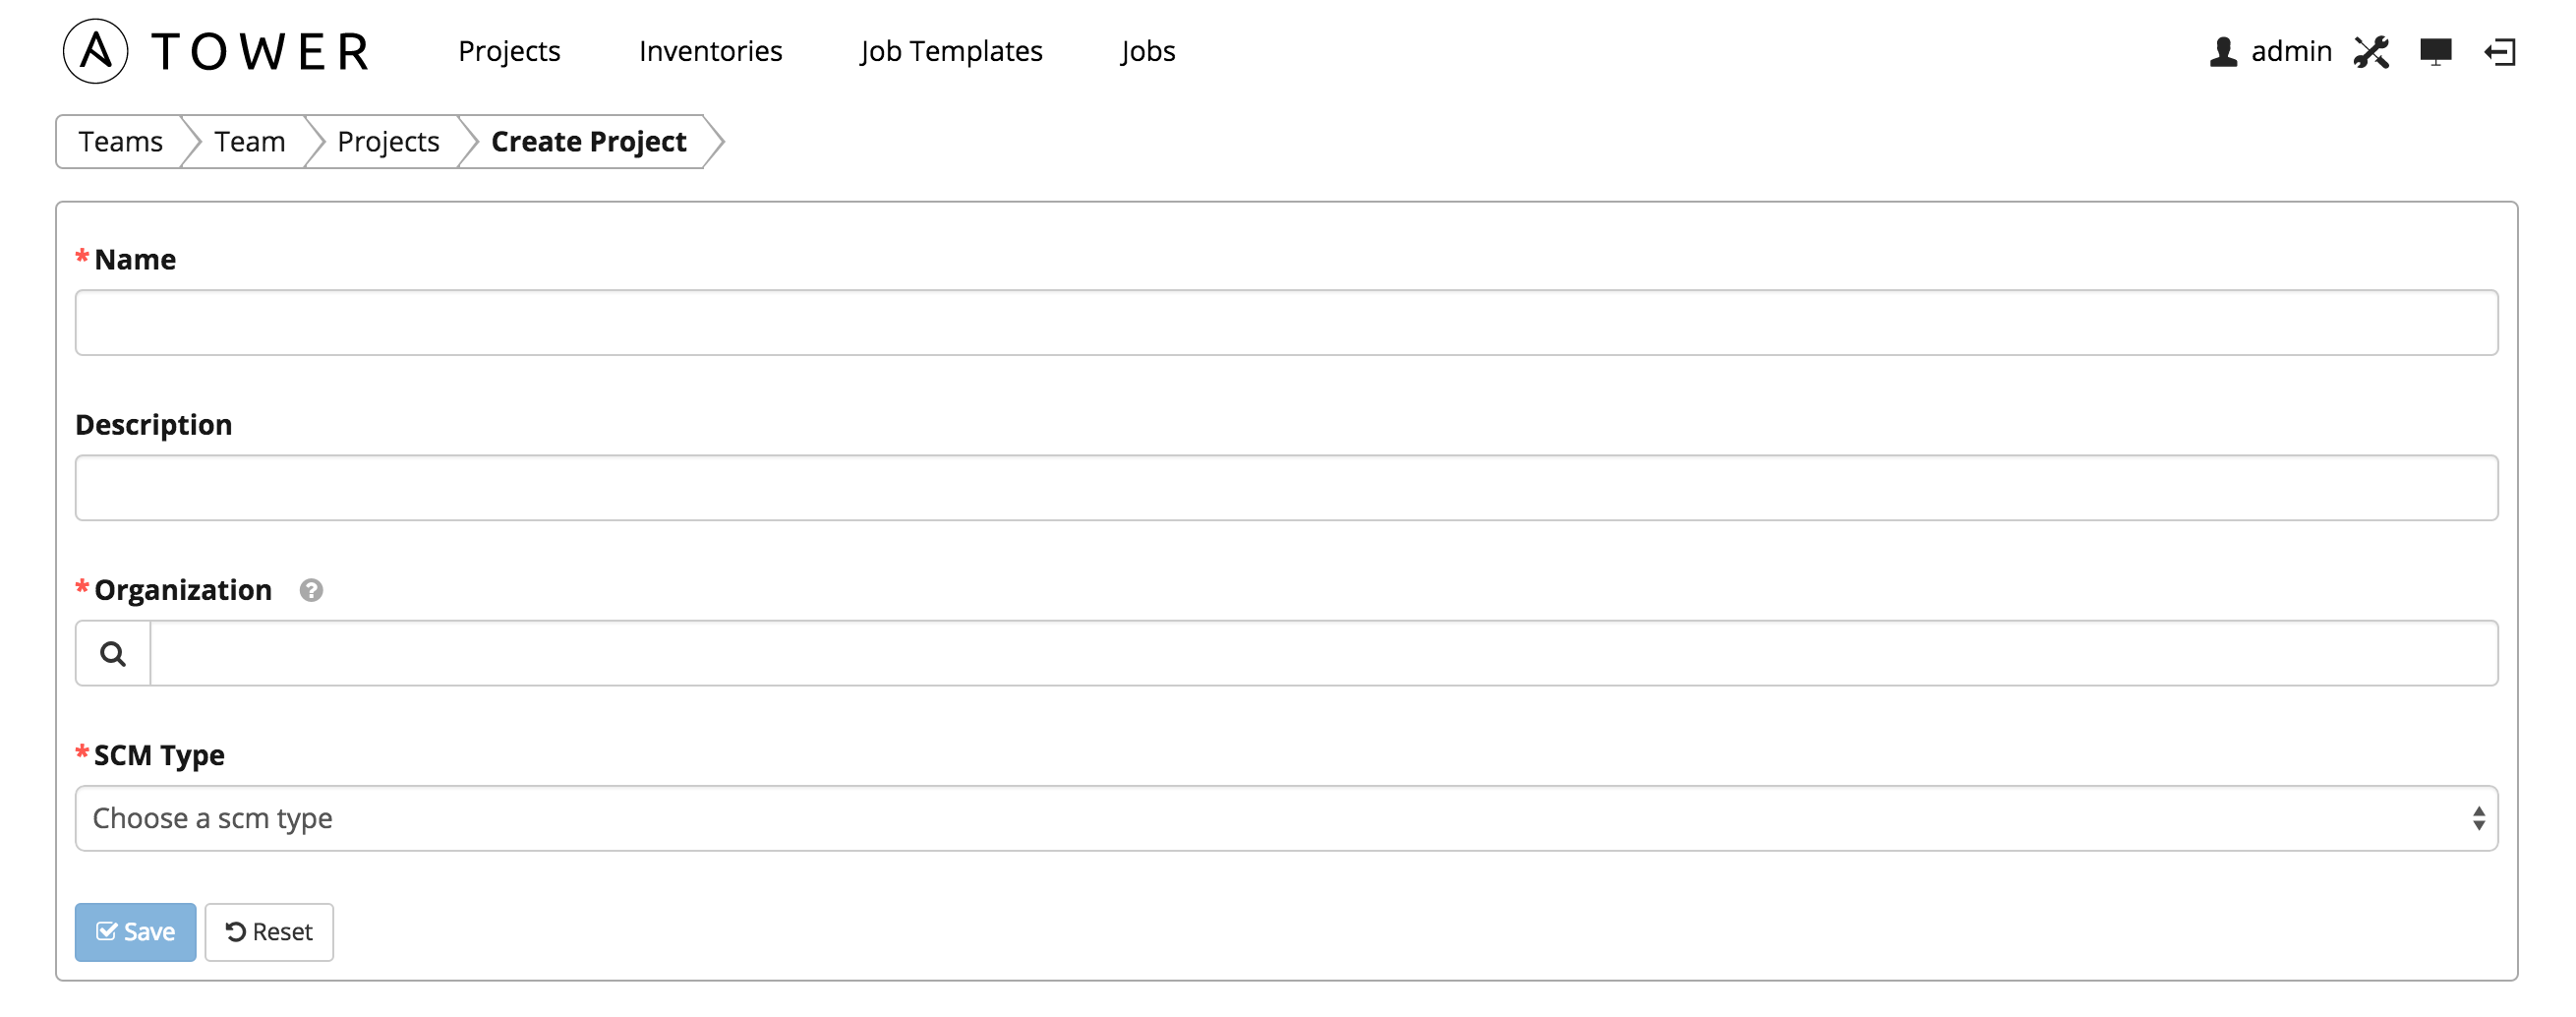
Enter the appropriate details into the following fields:
Name
Description
Organization
SCM Type (Select one of Manual, Git, Subversion, or Mercurial.)
If the SCM type is Manual, select the Project Base Path and Playbook Directory.
If the SCM type is Git, Subversion, or Mercurial, select the SCM URL.
- You can also enter optional information for the SCM branch, SCM credential, and preferred SCM update options.
- Revision # (Subversion only–optionally enter the Revision # for Subversion.)
All fields are required. Select Save.
7.4. Teams - Users
This menu displays the list of users that are members of this team. This list may be searched by Username, First Name, or Last Name. For more information, refer to Users.
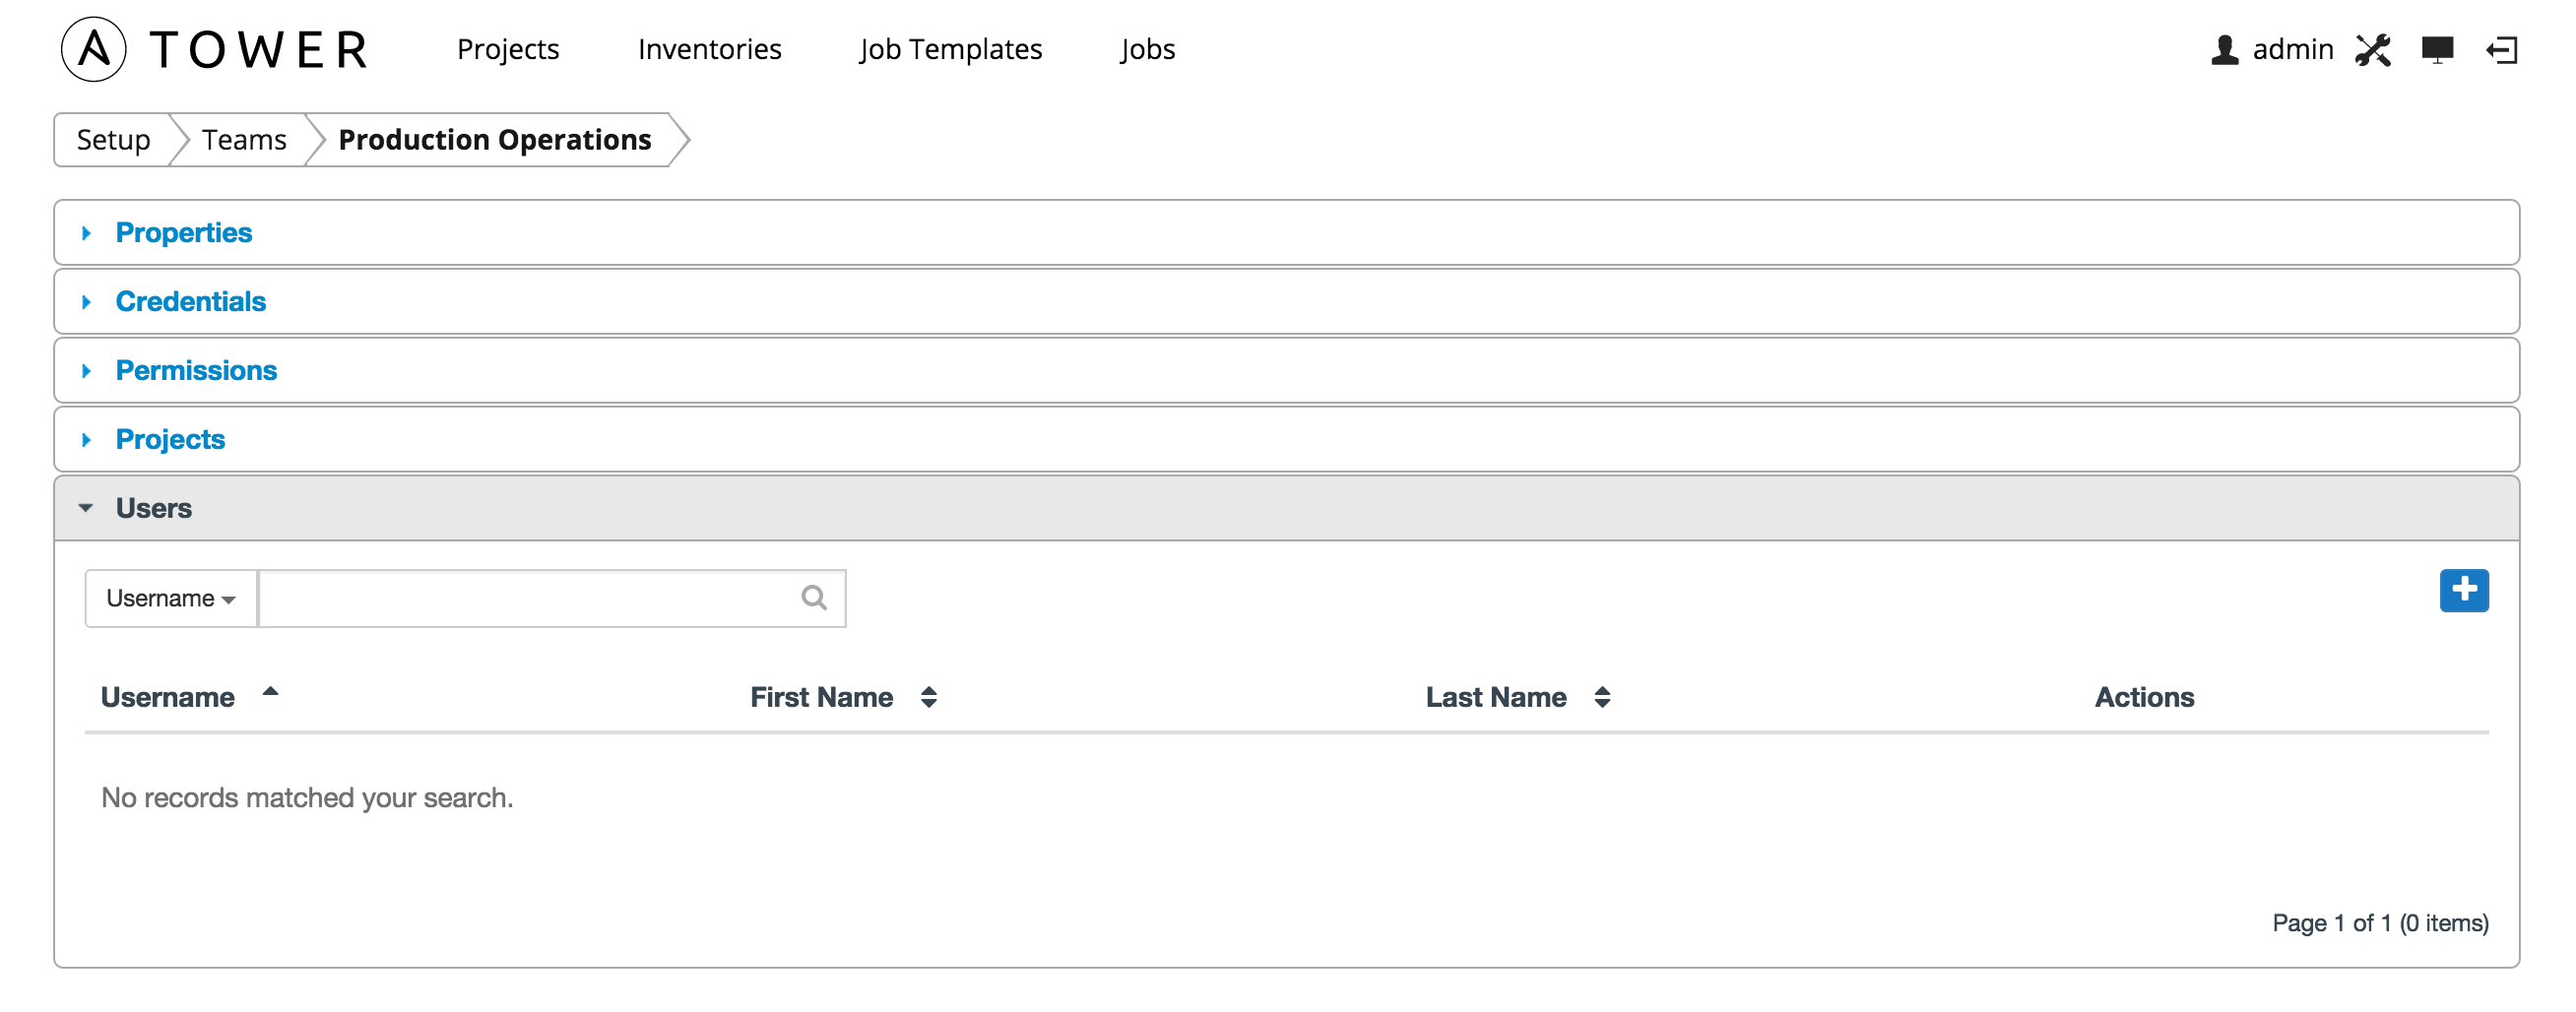
To add users to the team, click the  button. Then, select one or more users from the list of available users by clicking the Select checkbox or clicking anywhere on the user row. Click the Select button when done.


