13. Setting up Enterprise Authentication
Note
For LDAP authentication, see Setting up LDAP Authentication.
13.1. Azure Active Directory (AD)
To set up enterprise authentication for Microsoft Azure Active Directory (AD), you will need to obtain an OAuth2 key and secret by registering your organization-owned application from Azure at https://auth0.com/docs/connections/enterprise/azure-active-directory. Each key and secret must belong to a unique application and cannot be shared or reused between different authentication backends. In order to register the application, you must supply it with your webpage URL, which is the Callback URL shown in the Configure Tower user interface.
- In the Ansible Tower User Interface, click Configure Tower from the Settings (
 ) Menu screen.
The Authentication tab displays initially by default.
- In the Sub Category field, select Azure AD from the drop-down list.

- Use the Azure AD OAuth2 Callback URL to supply Azure AD when it prompts for your application’s Sign-on URL.

Once the application is registered, Azure displays the Application ID and Object ID.
- Copy and paste Azure’s Application ID to the Azure AD OAuth2 Key field of the Configure Tower - Authentication screen.
- Copy and paste Azure’s Object ID to the Azure AD OAuth2 Secret field of the Configure Tower - Authentication screen.
- For details on completing the mapping fields, see Organization and Team Mapping.
- Click Save when done.
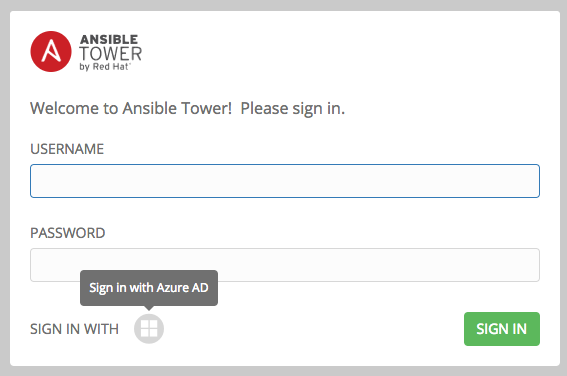
- To verify that the authentication was configured correctly, logout of Ansible Tower and the login screen will now display the Microsoft Azure logo to allow logging in with those credentials.

For application registering basics in Azure AD, refer to: https://docs.microsoft.com/en-us/azure/active-directory/develop/active-directory-authentication-scenarios#basics-of-registering-an-application-in-azure-ad
13.2. SAML Authentication Settings
Note
SAML authentication is a feature specific to Enterprise-level license holders.
To setup SAML authentication:
- In the Ansible Tower User Interface, click Configure Tower from the Settings (
 ) Menu screen.
The Authentication tab displays initially by default.
- In the Sub Category field, select SAML from the drop-down list.

The SAML Service Provider Callback URL and SAML Service Provider Metadata URL fields are pre-populated and are non-editable.
- You may optionally enter the URL for a domain name you own (does not need to be a valid URL as this value is only used as a unique ID) in the SAML Service Provider Entity ID field.
- Create a keypair for Tower to use as a service provider (SP) and include the certificate and private key contents.
As an example for public certs:
-----BEGIN CERTIFICATE——
... cert text ...
-----END CERTIFICATE——
As an example for private keys:
-----BEGIN PRIVATE KEY--
... key text ...
-----END PRIVATE KEY——
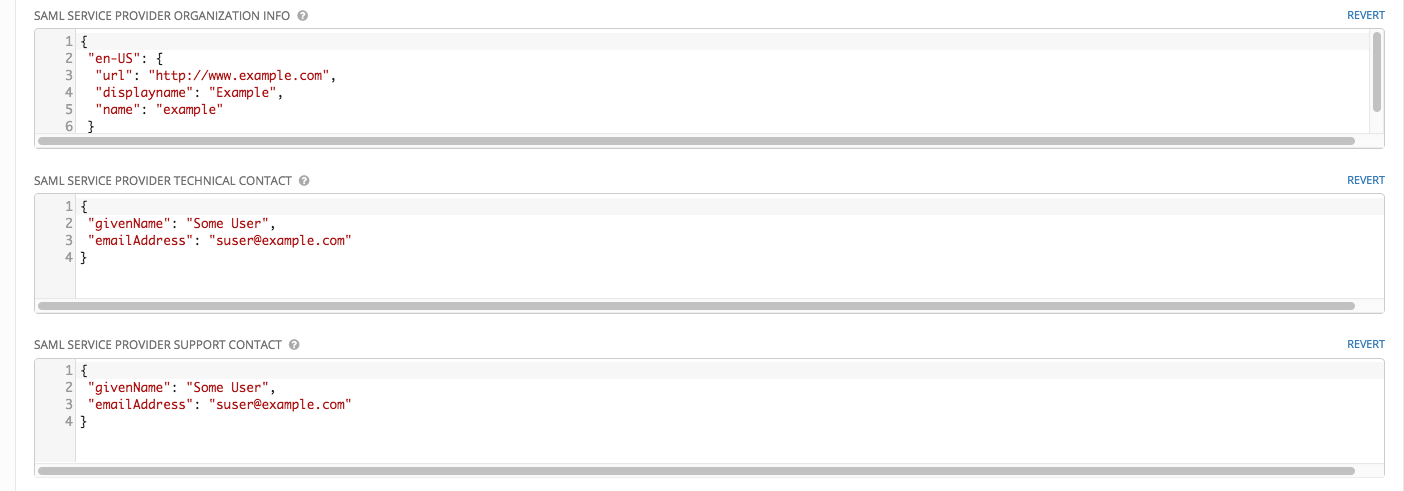
- Specify the organization in the SAML Service Provider Organization Info field and contact information associated with your application in the SAML Service Provider Technical Contact and SAML Service Provider Support Contact fields using the formats shown below.
For organization info:
{
"en-US": {
"url": "http://www.example.com",
"displayname": "Example",
"name": "example"
}
For contact info:
{
"givenName": "Some User",
"emailAddress": "[email protected]"
}

Refer to the tooltips provided in each field for additional guidance.
- Configure the entity ID, SSO URL and certificate for each identity provider (IdP) in use in the SAML Enabled Identity Providers field. Multiple SAML IdPs are supported. Some IdPs may provide user data using attribute names that differ from the default OIDs (https://github.com/omab/python-social-auth/blob/master/social/backends/saml.py). Attribute names may be overridden for each IdP as shown below.
{
"myidp": {
  "entity_id": "https://idp.example.com",
  "url": "https://myidp.example.com/sso",
  "x509cert": ""
},
"onelogin": {
  "entity_id": "https://app.onelogin.com/saml/metadata/123456",
  "url": "https://example.onelogin.com/trust/saml2/http-post/sso/123456",
  "x509cert": "",
  "attr_user_permanent_id": "name_id",
  "attr_first_name": "User.FirstName",
  "attr_last_name": "User.LastName",
  "attr_username": "User.email",
  "attr_email": "User.email"
  }
}

- For details on completing the mapping fields, see Organization and Team Mapping.
- Click Save when done.
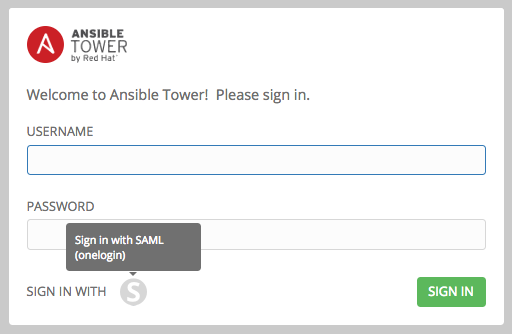
- To verify that the authentication was configured correctly, logout of Ansible Tower and the login screen will now display the SAML logo to indicate it as a alternate method of logging into Ansible Tower.

13.3. RADIUS Authentication Settings
Note
RADIUS account authentication is a feature specific to Enterprise-level license holders.
Ansible Tower can be configured to centrally use RADIUS as a source for authentication information.
- In the Ansible Tower User Interface, click Configure Tower from the Settings (
 ) Menu screen.
The Authentication tab displays initially by default.
- In the Sub Category field, select Radius from the drop-down list.

- Enter the Host or IP of the Radius server in the Radius Server field. If this field is left blank, Radius authentication is disabled.
- Enter the port and secret information in the next two fields.

- Click Save when done.
